[fusion_builder_container hundred_percent=”yes” overflow=”visible”][fusion_builder_row][fusion_builder_column type=”1_1″ background_position=”left top” background_color=”” border_size=”” border_color=”” border_style=”solid” spacing=”yes” background_image=”” background_repeat=”no-repeat” padding=”” margin_top=”0px” margin_bottom=”0px” class=”” id=”” animation_type=”” animation_speed=”0.3″ animation_direction=”left” hide_on_mobile=”no” center_content=”no” min_height=”none”][fusion_title size=”1″ content_align=”left” style_type=”default” sep_color=”” margin_top=”” margin_bottom=”” class=”” id=””]What is bokeh?![/fusion_title][fusion_text]
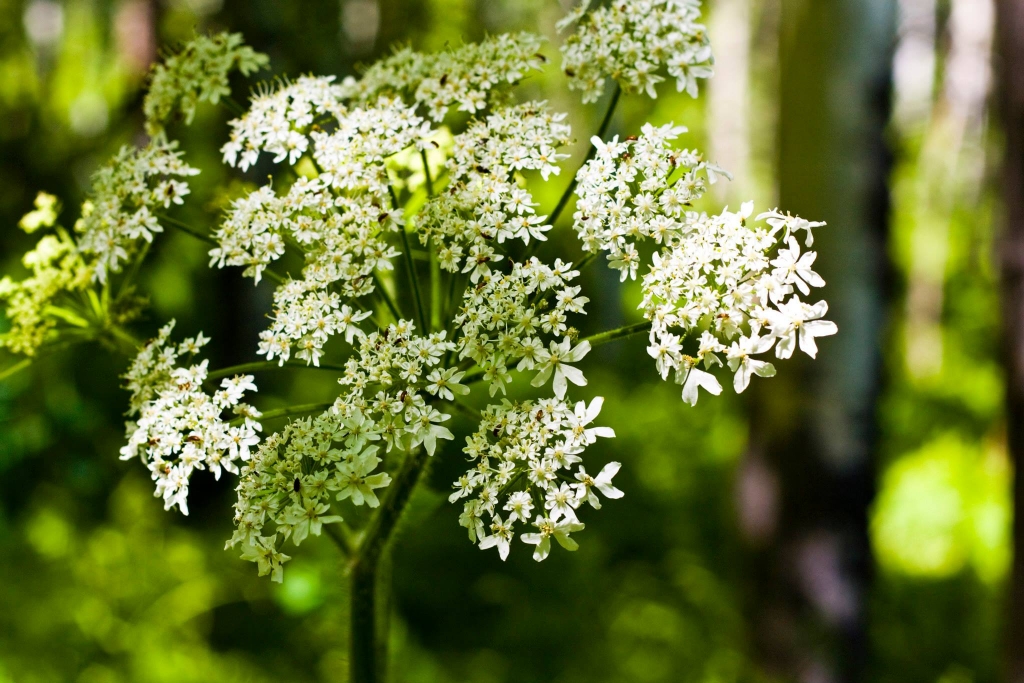
Bokeh comes from the Japanese word boke (ボケ), which means “blur” or “haze”, or boke-aji, the “blur quality.” Bokeh is pronounced BOH-Kə or BOH-kay.
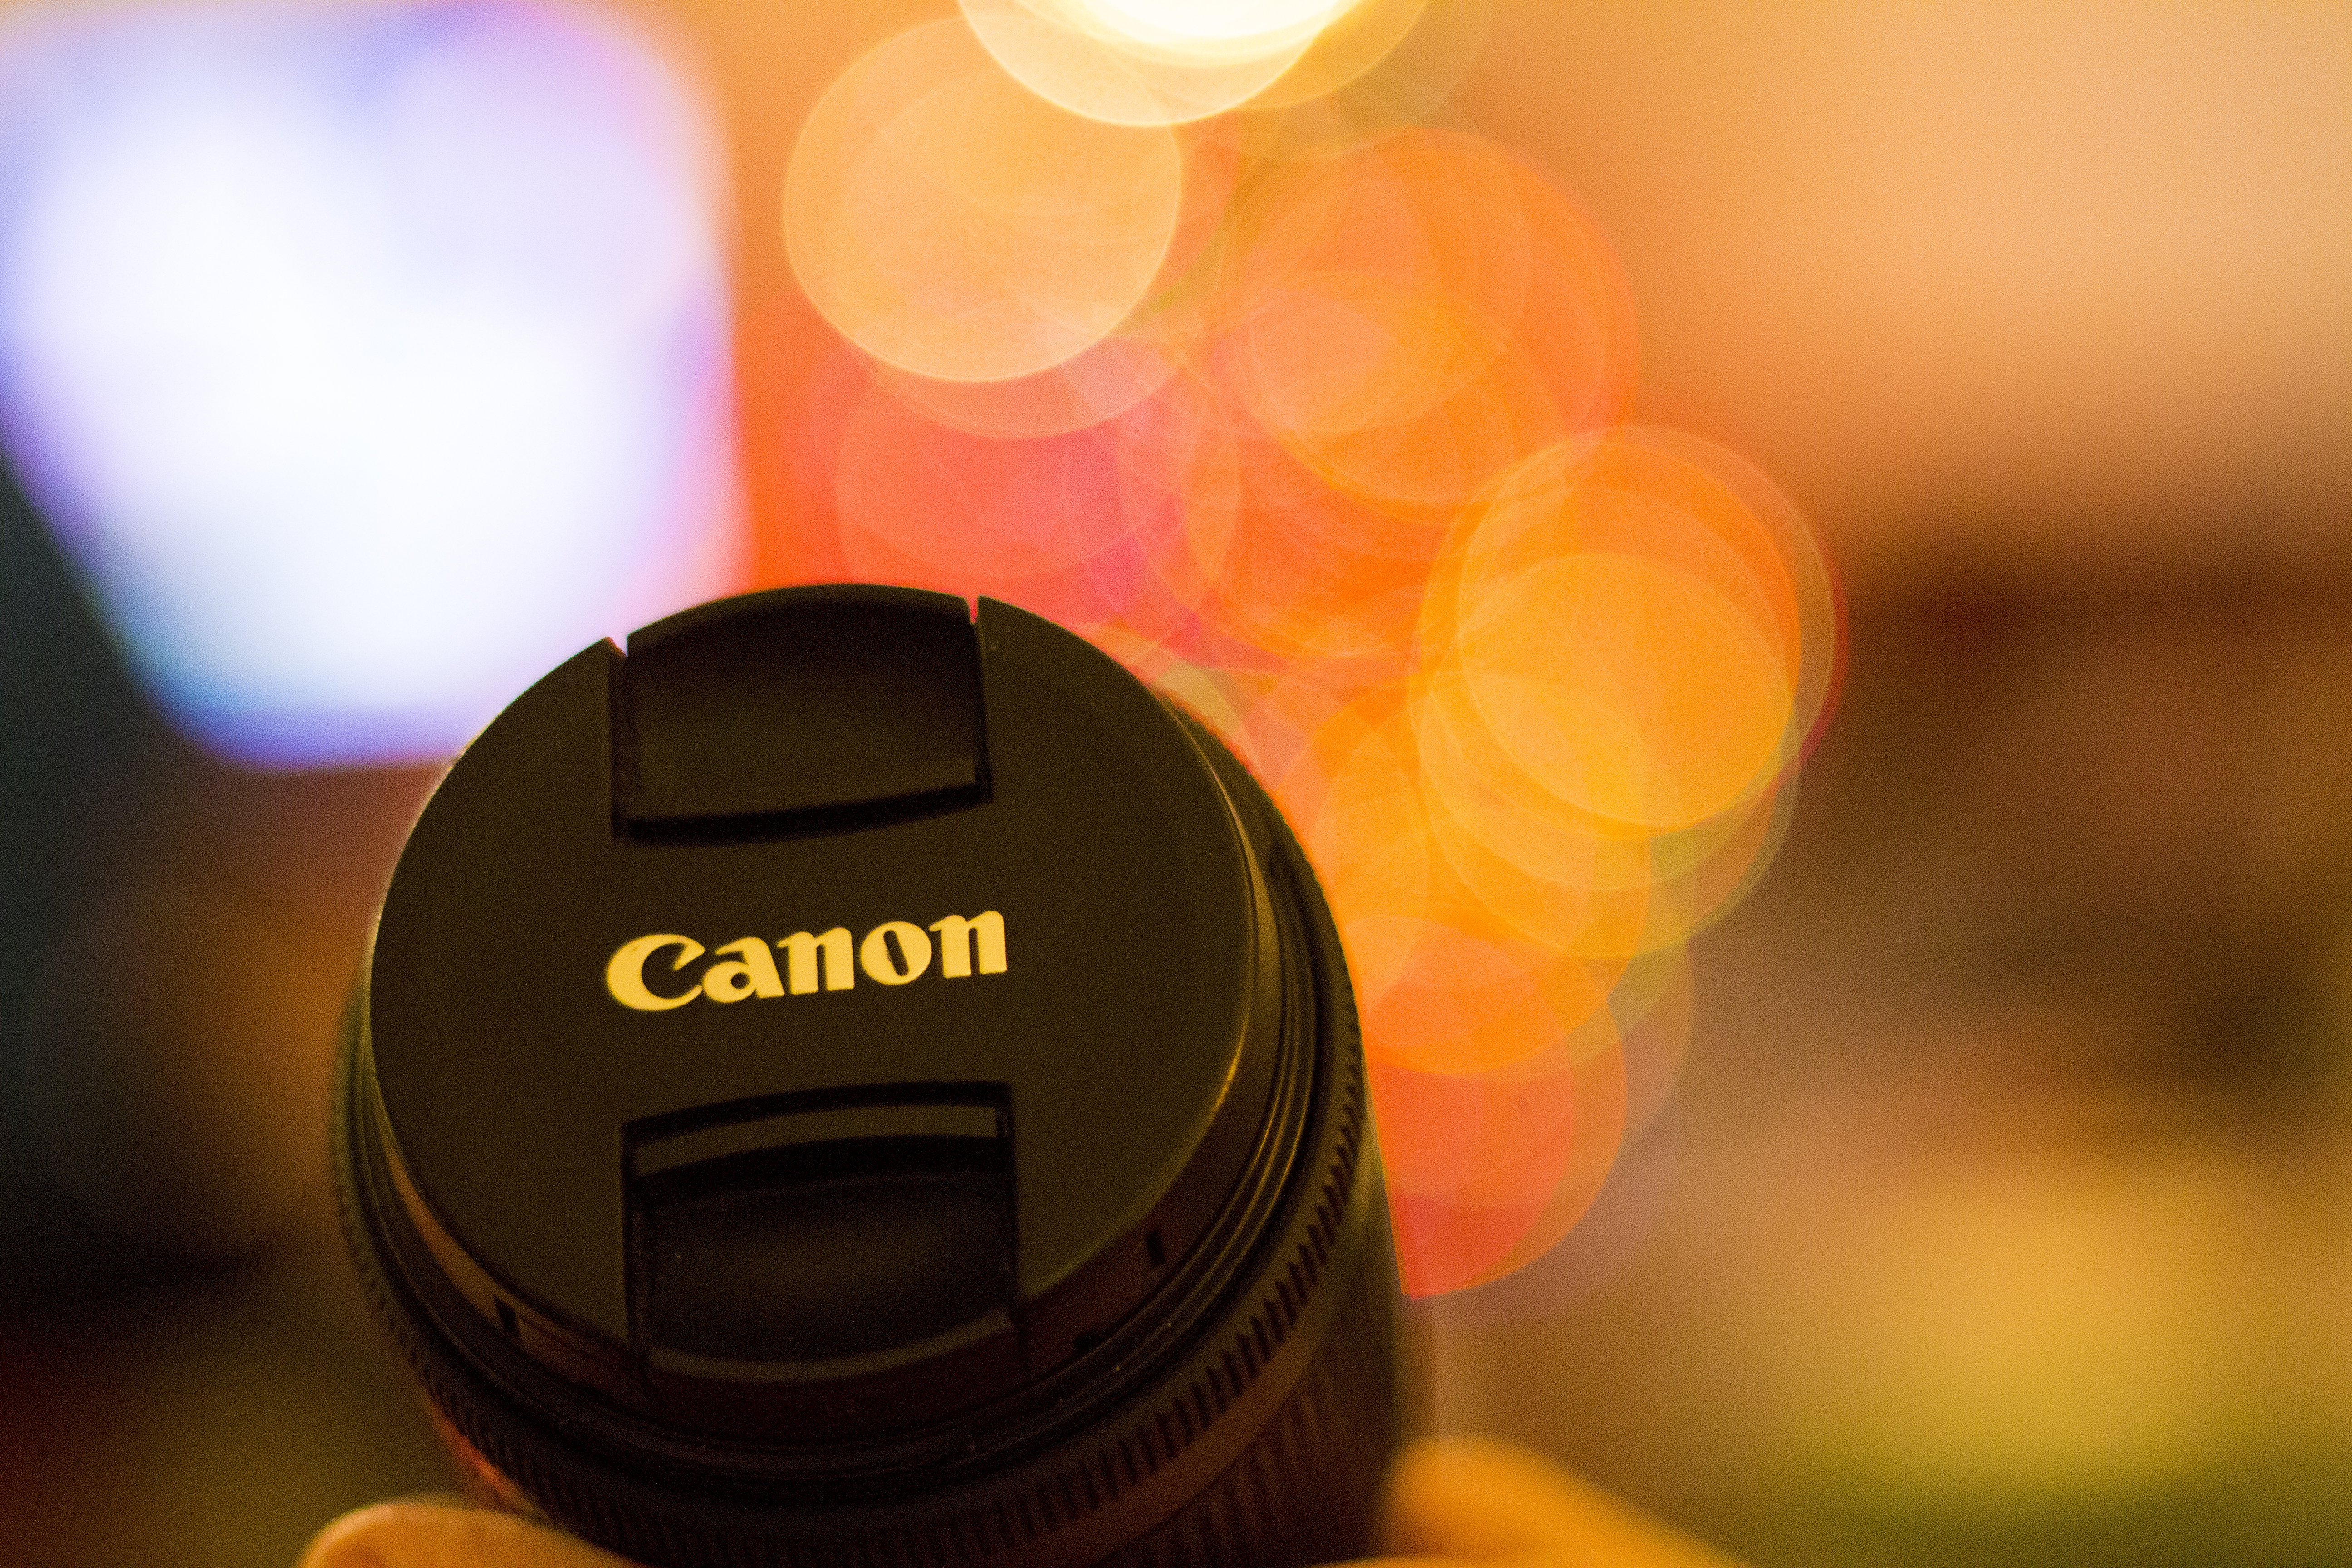
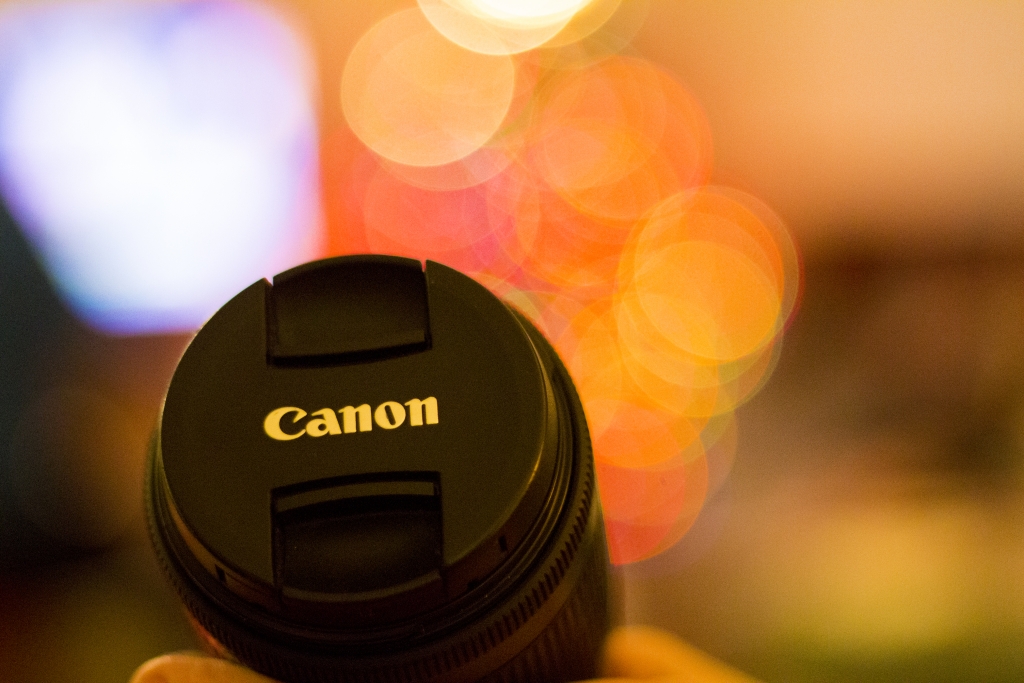
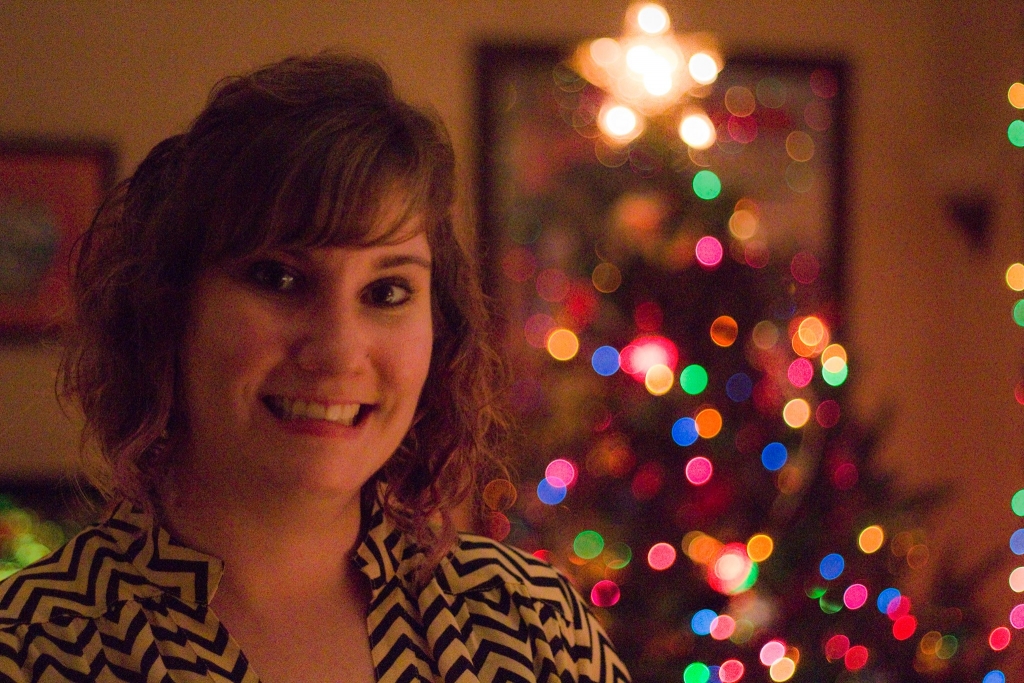
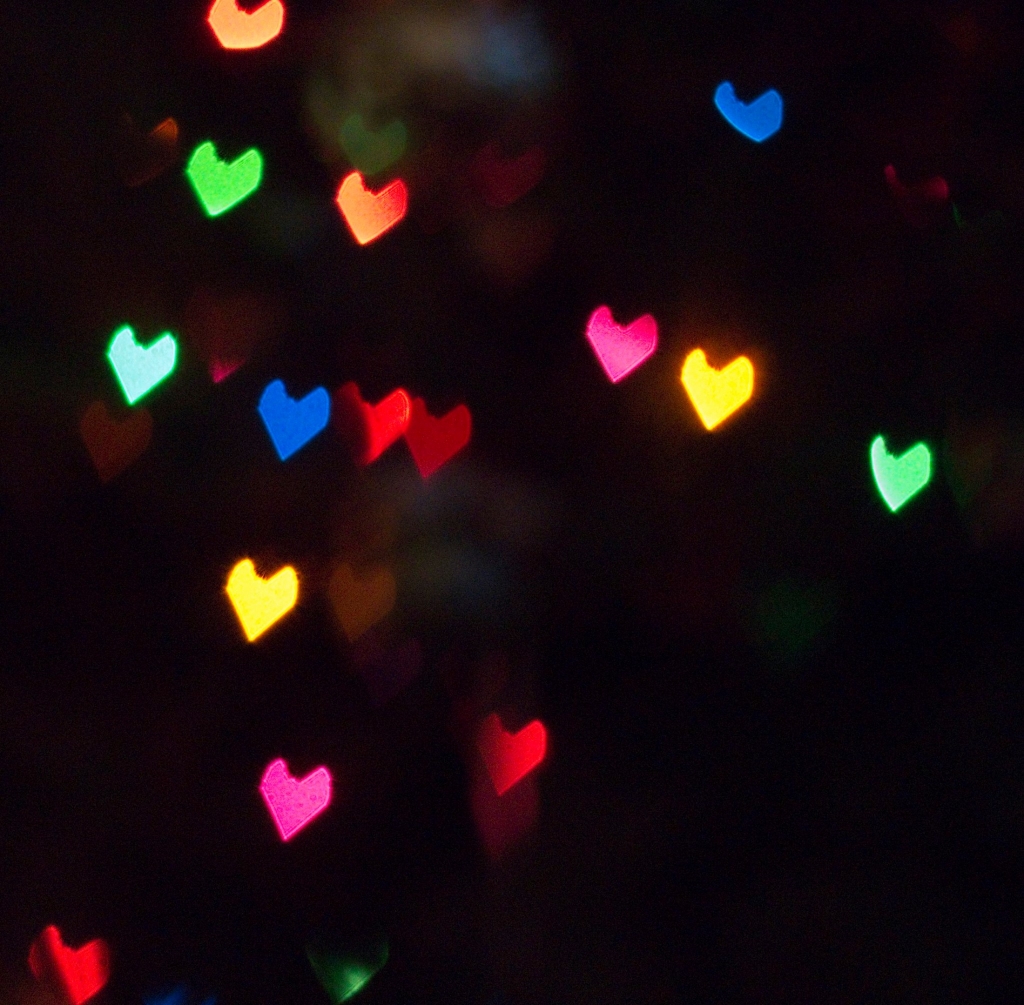
Most often during the holidays you see lots of Christmas lights in bokeh. Last year, my sister and I experimented with this concept. See the blur of the lights? That’s what we’re going for here!
 [/fusion_text][fusion_separator style_type=”double|dotted” top_margin=”” bottom_margin=”” sep_color=”#81d742″ border_size=”” icon=”fa-camera” icon_circle=”yes” icon_circle_color=”#1e73be” width=”” alignment=”center” class=”” id=””/][/fusion_builder_column][fusion_builder_column type=”1_1″ background_position=”left top” background_color=”” border_size=”” border_color=”” border_style=”solid” spacing=”yes” background_image=”” background_repeat=”no-repeat” padding=”” margin_top=”0px” margin_bottom=”0px” class=”” id=”” animation_type=”” animation_speed=”0.3″ animation_direction=”left” hide_on_mobile=”no” center_content=”no” min_height=”none”][fusion_title size=”1″ content_align=”left” style_type=”none” sep_color=”” margin_top=”” margin_bottom=”” class=”” id=””]First, you need the right equipment.[/fusion_title][fusion_text]For this tutorial, you’ll need a couple items to start with.
You will need:
- DSLR Camera
- A lens with fast aperture with at least f/2.8, with f/2, f/1.8, or f.1.4 being preferable
- A subject
- If you’d like to do a shape for the blurred lights (such as a heart or star):
- Black construction paper
- Scissors
- Patience!
 [/fusion_text][fusion_separator style_type=”double|dotted” top_margin=”” bottom_margin=”” sep_color=”#81d742″ border_size=”” icon=”fa-camera” icon_circle=”yes” icon_circle_color=”#1e73be” width=”” alignment=”center” class=”” id=””/][/fusion_builder_column][fusion_builder_column type=”1_1″ background_position=”left top” background_color=”” border_size=”” border_color=”” border_style=”solid” spacing=”yes” background_image=”” background_repeat=”no-repeat” padding=”” margin_top=”0px” margin_bottom=”0px” class=”” id=”” animation_type=”” animation_speed=”0.3″ animation_direction=”left” hide_on_mobile=”no” center_content=”no” min_height=”none”][fusion_title size=”1″ content_align=”left” style_type=”default” sep_color=”” margin_top=”” margin_bottom=”” class=”” id=””]Let’s get your bokeh on![/fusion_title][fusion_text]
- First, set your camera to Aperture priority.
- Use a low f-stop number such as f1.8, f1.4, or f2.8.
- Adjust the shutter speed so it’s fast– something like 1/50 second or faster should work. The slower the shutter speed the more blurry everything will be instead of the look of individual lights like in the above photos.
- If you find yourself in a low light setting, and the photo is too dark– adjust the ISO to a higher number. Remember, the higher ISO, the more grain will be in the photo.
- Next, move the subject (if you’re using one) close, and the background further away. If you are not using a subject, you’ll need to manually focus the lens. Sometimes it helps if you manually focus on a subject first, and then move the subject out of the shot.
Now practice and change settings until you love your photo! Happy photography![/fusion_text][fusion_separator style_type=”none” top_margin=”” bottom_margin=”” sep_color=”” border_size=”” icon=”” icon_circle=”” icon_circle_color=”” width=”” alignment=”” class=”” id=””/][/fusion_builder_column][/fusion_builder_row][/fusion_builder_container]
