[fusion_builder_container hundred_percent=”yes” overflow=”visible”][fusion_builder_row][fusion_builder_column type=”1_1″ background_position=”left top” background_color=”” border_size=”” border_color=”” border_style=”solid” spacing=”yes” background_image=”” background_repeat=”no-repeat” padding=”” margin_top=”0px” margin_bottom=”0px” class=”” id=”” animation_type=”” animation_speed=”0.3″ animation_direction=”left” hide_on_mobile=”no” center_content=”no” min_height=”none”][fusion_text]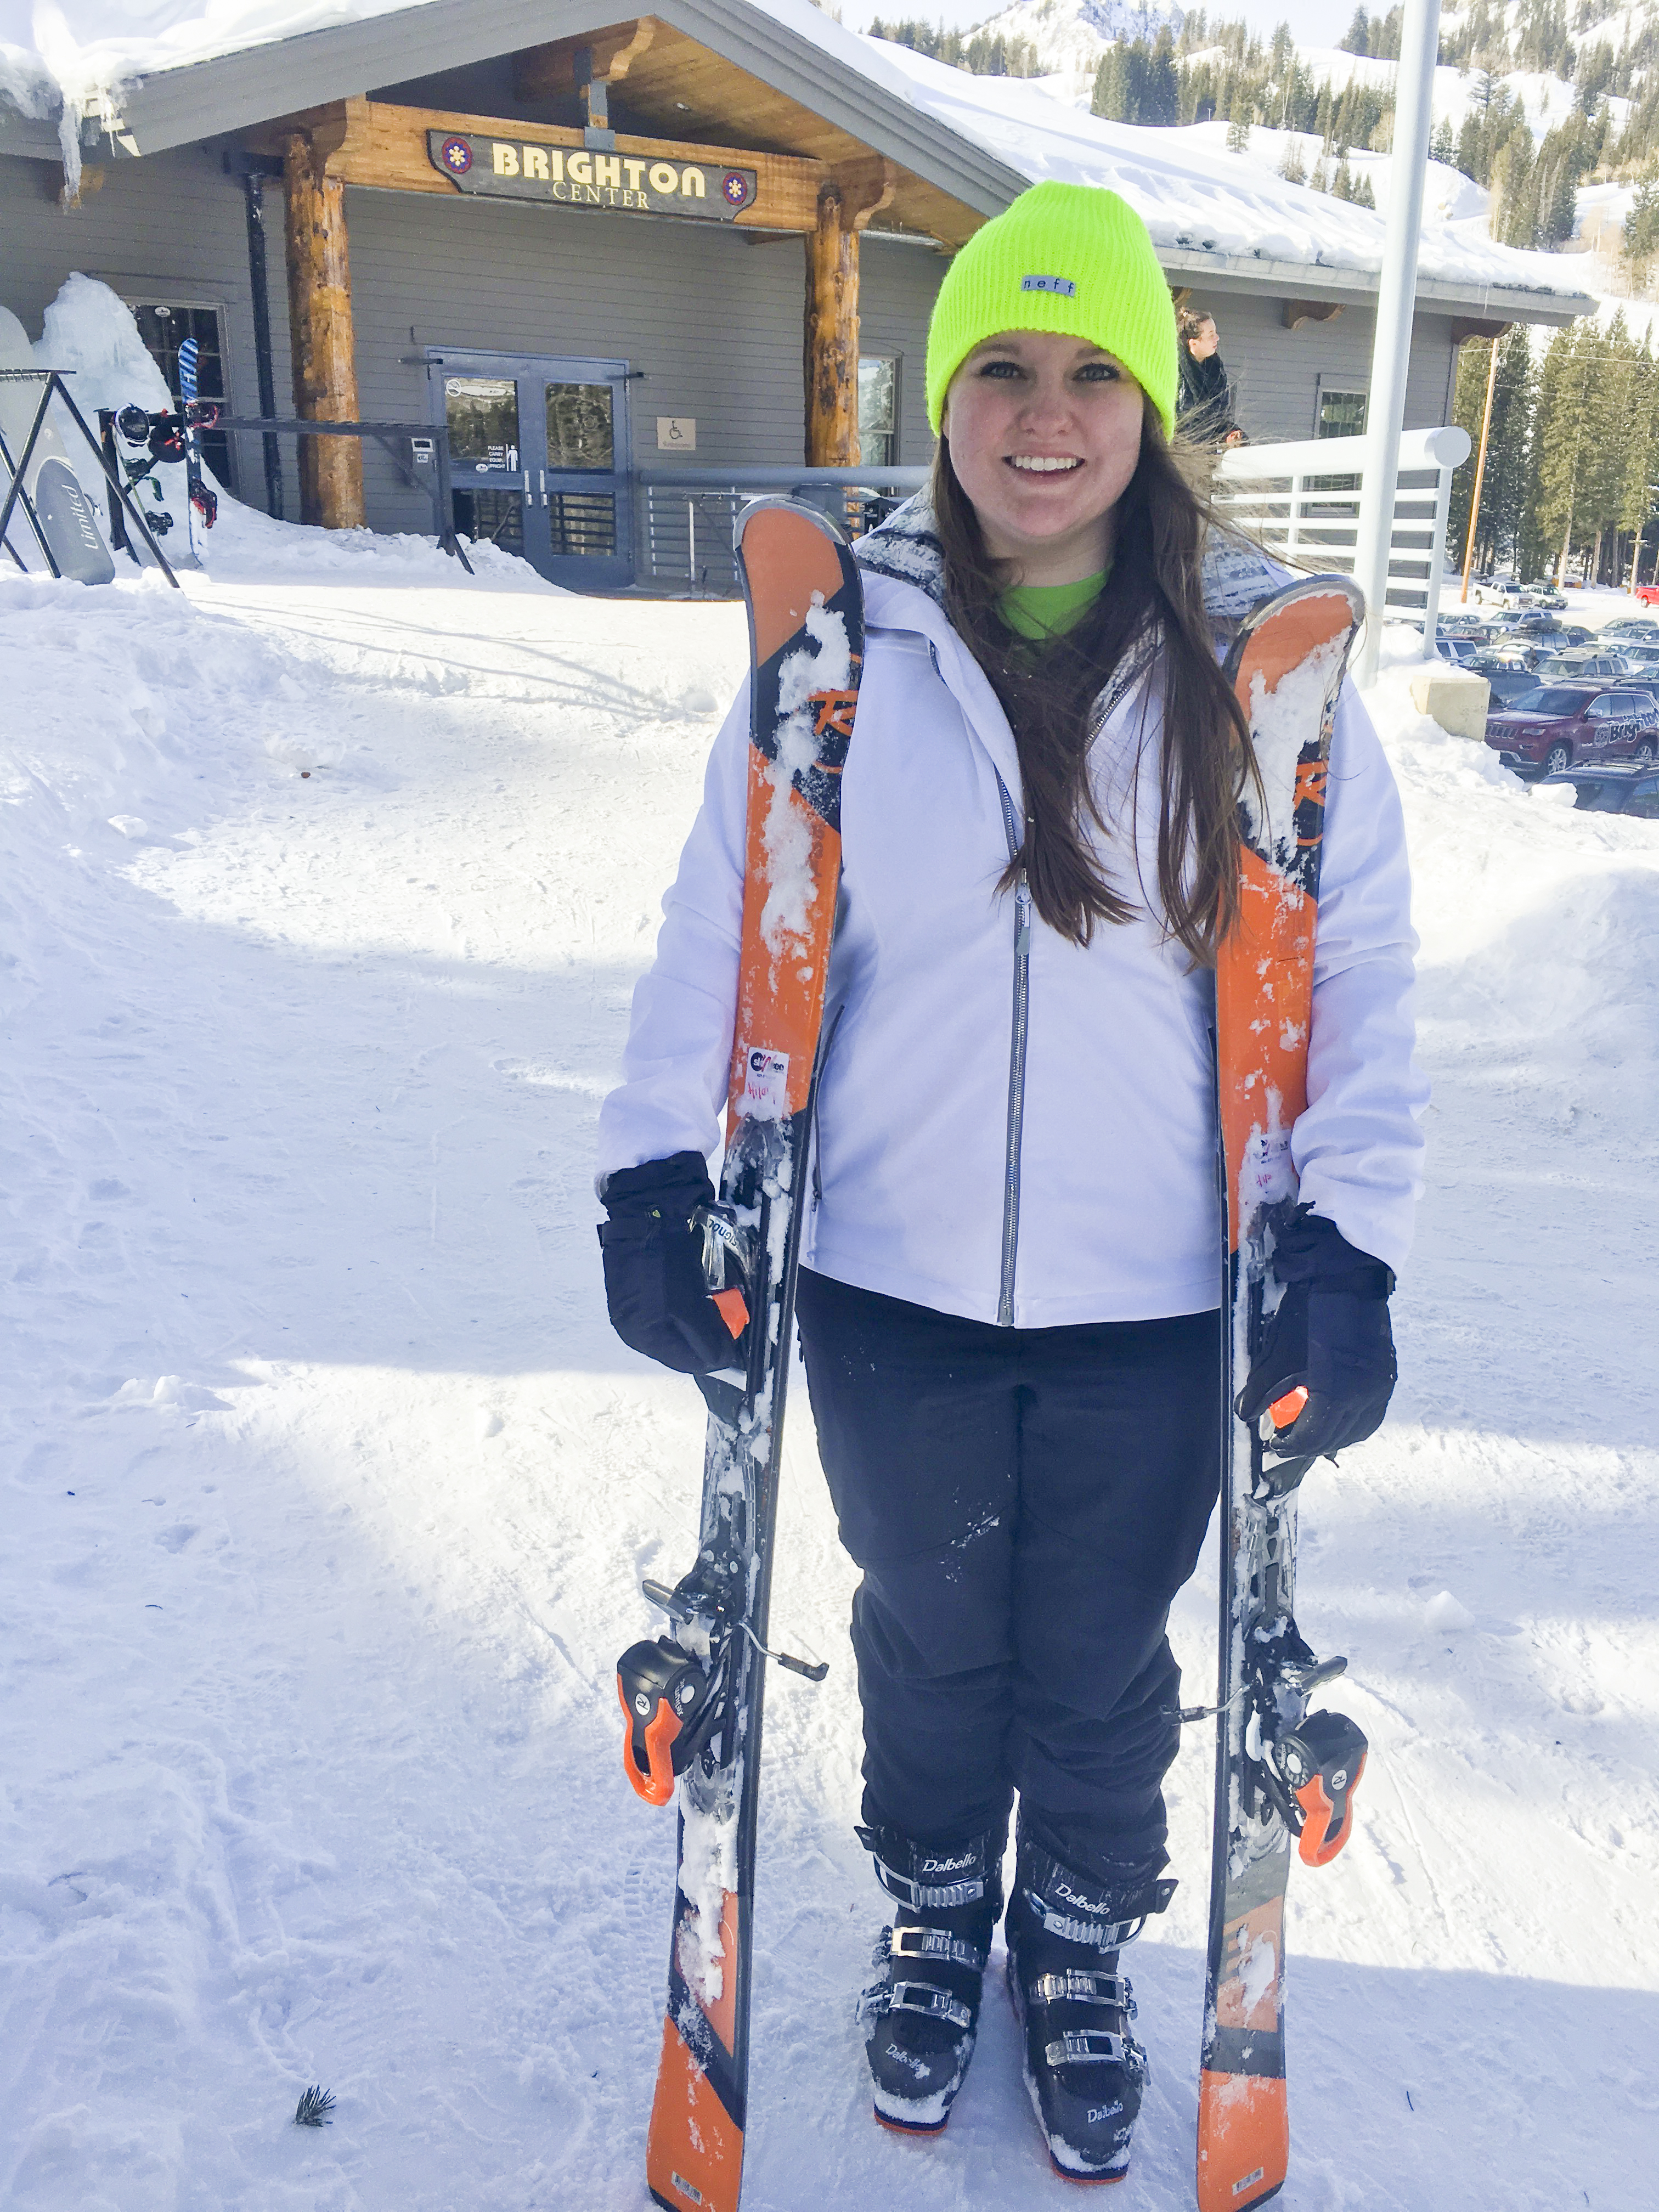
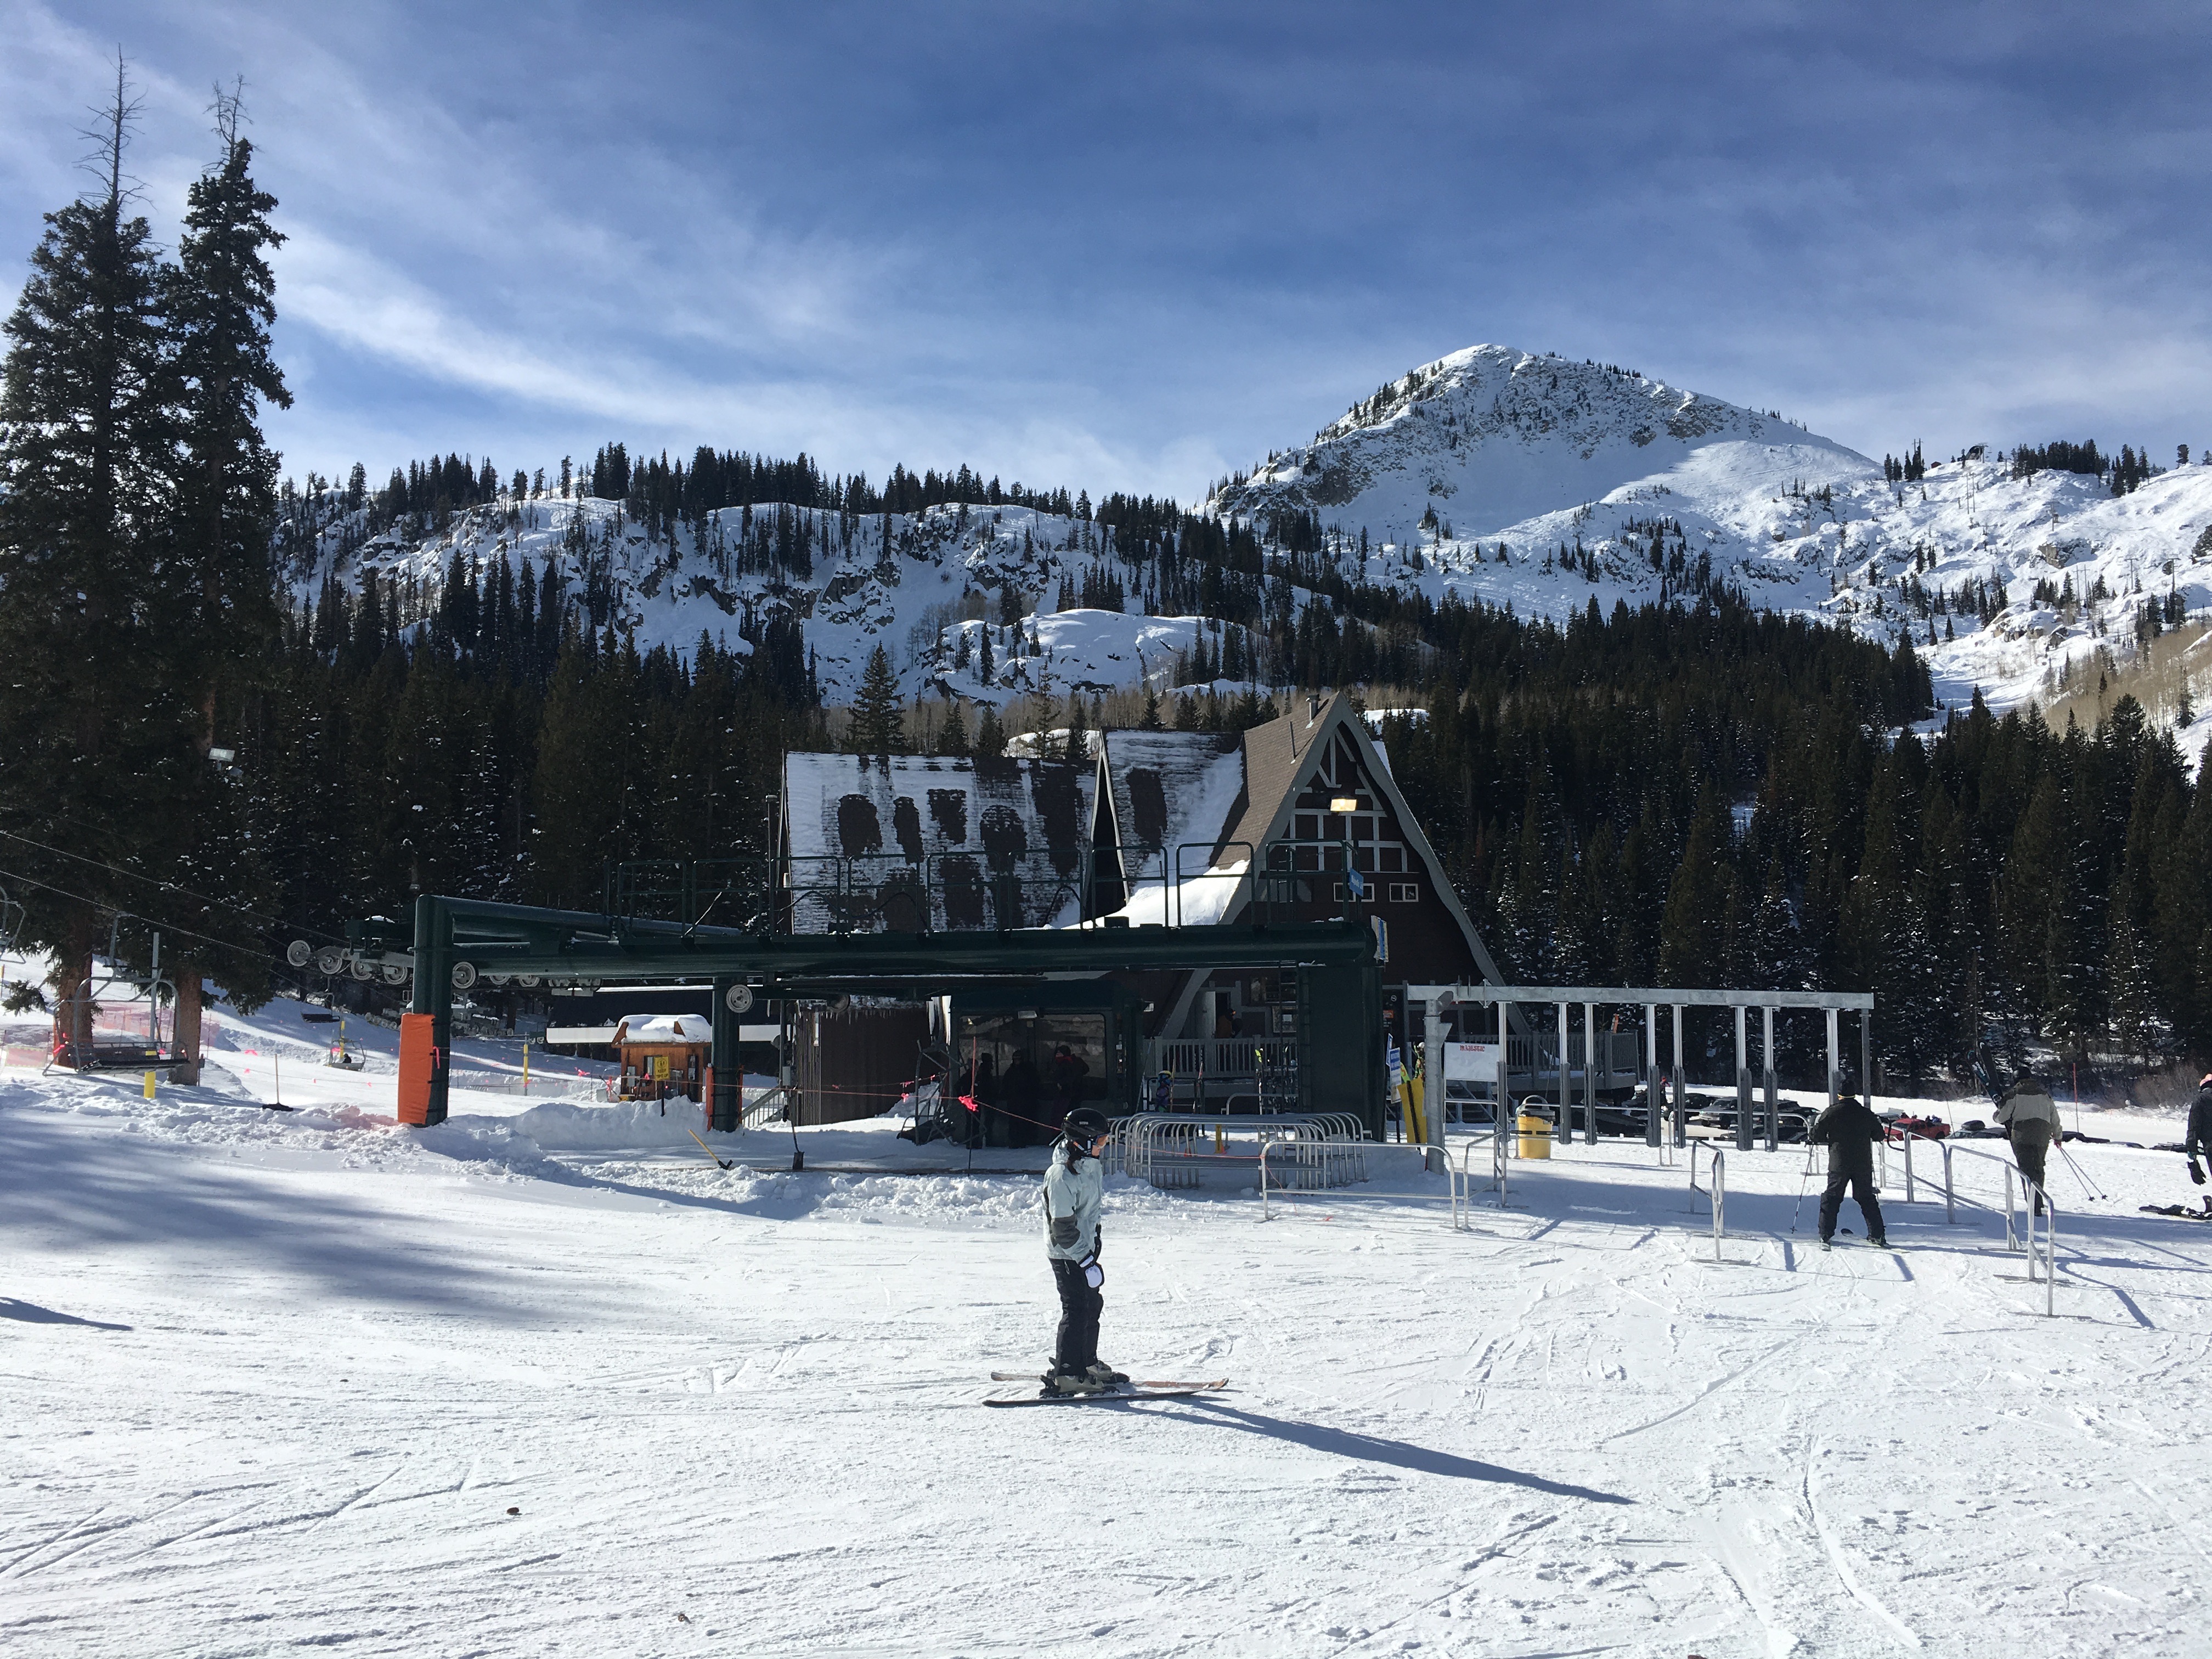
Skiing this week at Brighton Ski Resort
The other day, Facebook kindly reminded me that 2 years ago was the first day that I ever went skiing! As an adult beginner on the slopes, with a bunch of experienced skiers, this was intimidating to me.
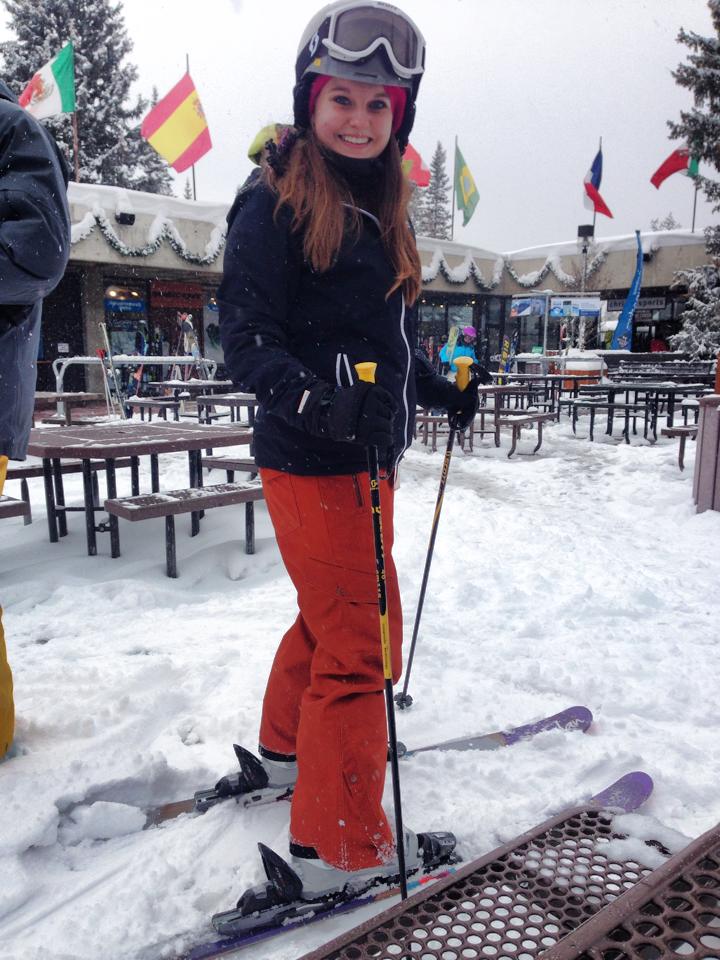
First Time Skier! (January 2014)
Long story short, my coworkers taught me the basics at Snowbird Resort on the bunny hill, and halfway through the day they convinced me that a different run would be essentially the same difficulty, just longer.
This was incorrect. It was longer, steeper, harder and scarier!
They skied off without me, I fell down, and couldn’t get back up. A very nice couple from New England found me panicking and kindly picked me up and led me down the mountain in the easiest way they could figure. It took over an hour to get down to the bottom. My legs were jello, and my anxiety was high. Once down the mountain, I immediately left. The important part of my experience was that I did try again after that day!
My hopes for new skiers out there is that your first-time skiing is not as traumatic as mine. Here are my tips for those a little nervous to get out on those slopes for the first time… from the queen of the bunny hill!
Please note that I am not an expert or certified teacher– these are my personal observations and experiences. I am still very much a beginner skier! [/fusion_text][/fusion_builder_column][fusion_builder_column type=”1_1″ background_position=”left top” background_color=”” border_size=”” border_color=”” border_style=”solid” spacing=”yes” background_image=”” background_repeat=”no-repeat” padding=”” margin_top=”0px” margin_bottom=”0px” class=”” id=”” animation_type=”” animation_speed=”0.3″ animation_direction=”left” hide_on_mobile=”no” center_content=”no” min_height=”none”][fusion_title size=”1″ content_align=”left” style_type=”none” sep_color=”” margin_top=”” margin_bottom=”” class=”” id=””]The Bare Essentials Packing List[/fusion_title][/fusion_builder_column][fusion_builder_column type=”1_1″ background_position=”left top” background_color=”” border_size=”” border_color=”” border_style=”solid” spacing=”yes” background_image=”” background_repeat=”no-repeat” padding=”” margin_top=”0px” margin_bottom=”0px” class=”” id=”” animation_type=”” animation_speed=”0.3″ animation_direction=”left” hide_on_mobile=”no” center_content=”no” min_height=”none”][fusion_checklist icon=”fa-check” iconcolor=”#81d742″ circle=”yes” circlecolor=”#1e73be” size=”13px” class=”” id=””][fusion_li_item icon=”fa-check”]Skis, Boots, Poles[/fusion_li_item][fusion_li_item icon=”fa-check”]Base Layer, Technical Shirt, Waterproof, Insulated Jacket[/fusion_li_item][fusion_li_item icon=”fa-check”]Tall and Warm Socks, Leggings or Long Johns, Waterproof and Insulated Ski Pants[/fusion_li_item][fusion_li_item icon=”fa-check”]Hat, Gloves (or Mittens), Goggles[/fusion_li_item][fusion_li_item icon=”fa-check”]Smile and positive attitude![/fusion_li_item][/fusion_checklist][/fusion_builder_column][fusion_builder_column type=”1_1″ background_position=”left top” background_color=”” border_size=”” border_color=”” border_style=”solid” spacing=”yes” background_image=”” background_repeat=”no-repeat” padding=”” margin_top=”0px” margin_bottom=”0px” class=”” id=”” animation_type=”” animation_speed=”0.3″ animation_direction=”left” hide_on_mobile=”no” center_content=”no” min_height=”none”][fusion_title size=”1″ content_align=”left” style_type=”none” sep_color=”” margin_top=”” margin_bottom=”” class=”” id=””]First things first, learn the basics![/fusion_title][fusion_text]If you have the opportunity to take a lesson, that is the #1 beginner ski tip that you’ll find just about anywhere. If you don’t have that opportunity or luxury, find someone very patient to teach you. One of the other top beginner tips is not to let a loved one teach you. I can say that is very dependent on your relationship. Be prepared to be frustrated, scared, potentially angry during your first times skiing. I will let you be the own judge of who you let teach you, though having Brighton teach me how to ski/snowboard was a true test of our relationship. (We passed!)
Learning to ski as an adult is hard! You have significantly more weight than a child, potentially less flexibility, and more fear.
Yes, I was scared… But also having fun!
The three basics I suggest learning first are:
- How to stop
- How to fall and stand up again after a fall
- How to go
The first thing I wanted to know as soon as I stood up in my ski boots and started moving was how do I stop?! I suggest if it’s your first day ever on the slopes to go to something they call the “magic carpet” which is basically a conveyor belt lift that you can step onto, which they usually start out with during lessons. Most resorts will let you in the area if you’re not in the way of their lessons– just ask!
Once I got up their mini hill, they told me to point my ski tips downhill in a pizza shape and go. That was my next question– how do I go?!
Don’t be afraid to fall! Most likely, you will fall… and it will be okay.
After going a little bit, I fell and I had no idea how to get up. To be completely honest, this is still one of my skiing weaknesses, and sometimes I can’t get up completely without help yet.
Tip: If you have your skis perpendicular to the downhill of the slope (so they are not pointed down or up), and rock yourself to a standing position, you won’t go flying downhill as you stand up.
Another tip to keep you in the right form and balanced is not to look at your ski tips. It throws your balance off, and you can’t see where you are going. If you look in the direction that you’re trying to go, your body goes that direction too. It’s like when you throw a ball, you look the direction you want it to go, and your eyes and body automatically follow.[/fusion_text][fusion_separator style_type=”double|dotted” top_margin=”” bottom_margin=”” sep_color=”#1e73be” border_size=”” icon=”fa-asterisk” icon_circle=”yes” icon_circle_color=”#81d742″ width=”” alignment=”center” class=”” id=””/][/fusion_builder_column][fusion_builder_column type=”1_1″ background_position=”left top” background_color=”” border_size=”” border_color=”” border_style=”solid” spacing=”yes” background_image=”” background_repeat=”no-repeat” padding=”” margin_top=”0px” margin_bottom=”0px” class=”” id=”” animation_type=”” animation_speed=”0.3″ animation_direction=”left” hide_on_mobile=”no” center_content=”no” min_height=”none”][fusion_title size=”1″ content_align=”left” style_type=”none” sep_color=”” margin_top=”” margin_bottom=”” class=”” id=””]Learn the signage and language.[/fusion_title][fusion_text]The ski trails (or pistes or slopes) are marked for level of difficulty. In North America, the following are the markings that they use.

Green Circles: Easiest. These are the easiest runs in the resort. (Don’t confuse this to mean “easy” for though, since that is not always true.) They are usually wide, groomed and with a gradient between 6% and 25% — less steep.
Blue Squares: Intermediate. These groomed slopes are slightly more challenging, with gradients of between 25% and 40%. They can be more narrow then green, and are usually busier than the green runs.
Black Diamonds: Advanced. The most challenging slopes in the resort, and will usually be near the top. The slopes will be ungroomed and with gradients of 40% and up.
Double Black Diamonds: Experts only. These tend to be narrow, with obstacles (such as trees), ungroomed, exposed to wind, and a steep grade.
Orange Oval: Terrain park with jumps, half pipes, etc. for those looking to practice their trickier side.
 [/fusion_text][/fusion_builder_column][fusion_builder_column type=”1_1″ background_position=”left top” background_color=”” border_size=”” border_color=”” border_style=”solid” spacing=”yes” background_image=”” background_repeat=”no-repeat” padding=”” margin_top=”0px” margin_bottom=”0px” class=”” id=”” animation_type=”” animation_speed=”0.3″ animation_direction=”left” hide_on_mobile=”no” center_content=”no” min_height=”none”][fusion_title size=”1″ content_align=”left” style_type=”none” sep_color=”” margin_top=”” margin_bottom=”” class=”” id=””]Go at your own pace.[/fusion_title][fusion_text]
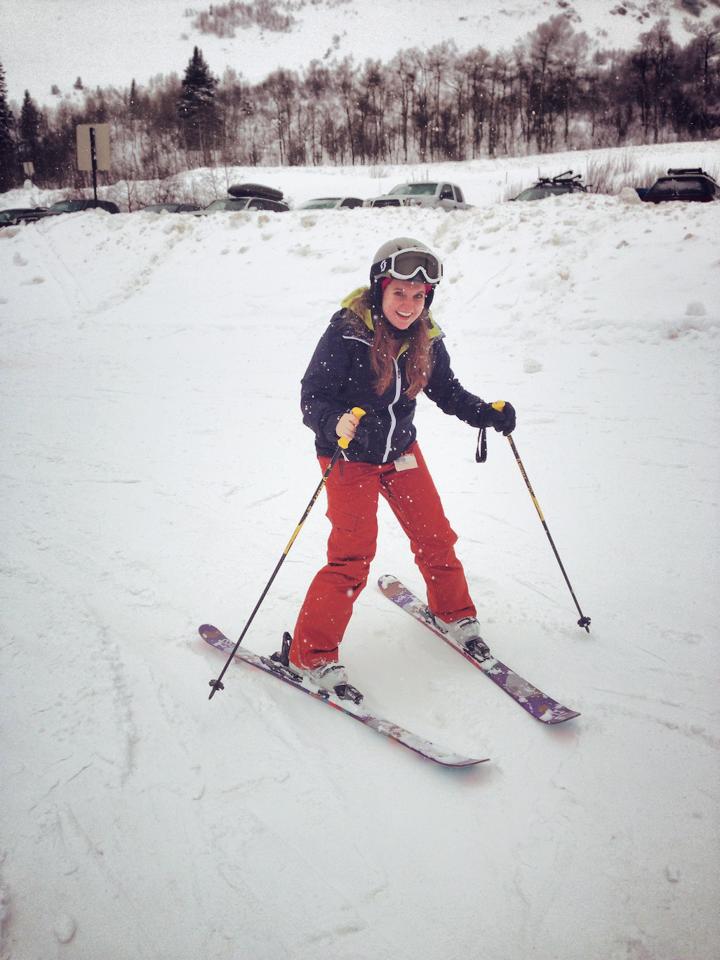
This was from this past week skiing. Look at the minimal snowplow stance!
As you can tell from my first-time skiing, I did not go at my own pace. I was rushed onto a slope that was completely out of my comfort zone. Don’t get me wrong, it’s important to push yourself to try new and difficult things, but only at the right pace.
Since that day, I have decided to stick with the bunny hill and easiest slopes I can find until I have mastered the basics. It’s made skiing that much more enjoyable, and I still feel accomplished because I am working on the basics of increasing speed, with less “pizza stance”.
Just a word of warning from experience, pizza stance all the way down a long run hurts! It will tire your legs out, and it probably won’t be very fun to feel like you’re stopping the whole time. The opposite of that is true as well– if you are flying down the run out of control, that’s no fun either. This is the reason I suggest to grow your skills at your own pace. Don’t give into peer pressure![/fusion_text][fusion_separator style_type=”double|dotted” top_margin=”” bottom_margin=”” sep_color=”#1e73be” border_size=”” icon=”fa-asterisk” icon_circle=”yes” icon_circle_color=”#81d742″ width=”” alignment=”center” class=”” id=””/][/fusion_builder_column][fusion_builder_column type=”1_1″ background_position=”left top” background_color=”” border_size=”” border_color=”” border_style=”solid” spacing=”yes” background_image=”” background_repeat=”no-repeat” padding=”” margin_top=”0px” margin_bottom=”0px” class=”” id=”” animation_type=”” animation_speed=”0.3″ animation_direction=”left” hide_on_mobile=”no” center_content=”no” min_height=”none”][fusion_title size=”1″ content_align=”left” style_type=”default” sep_color=”” margin_top=”” margin_bottom=”” class=”” id=””]Practice will help the movement of skiing feel more natural and comfortable.[/fusion_title][fusion_text]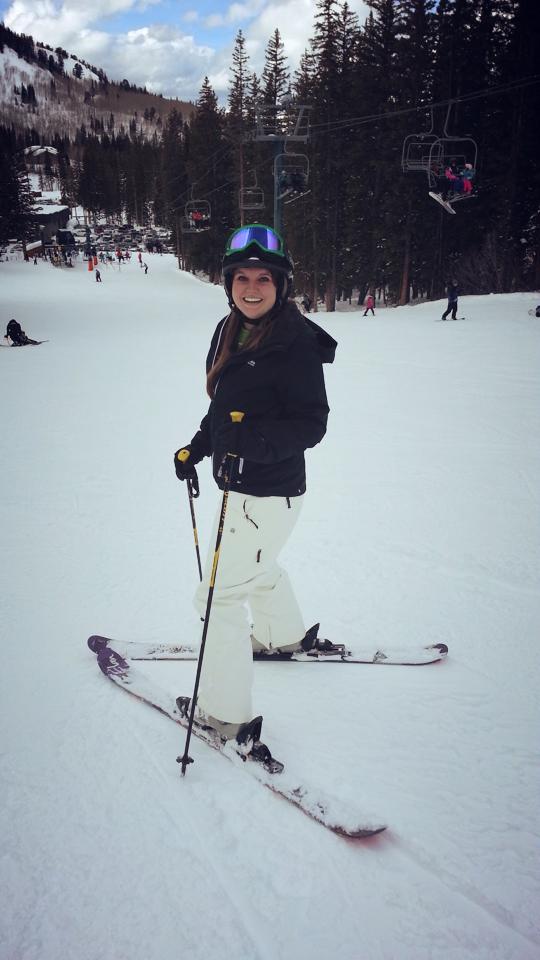
Snowplow or “pizza” stance is your friend when you are a beginner! This basically means you point your ski tips together to create a pie slice shape and you bend your knees in to control your speed. As you practice, you’ll practice going from snowplow on turns to “french fries” or straight tips on the traversing, and then the ultimate goal is to be in parallel stance.
Something interesting I found online says:
“If a skier learns proper wedge turns, parallel happens more or less automatically as speed and balance skills increase[…] In a wedge turn, the skier uses flexion and extension to flatten the skis, or to get a little more edge engagement, and to direct a little more pressure from one ski to the other. The wedge is not wide enough to add any significant speed control. Speed control is entirely done by the turn shape, and how far across the hill the skier takes the turn…”
I would say that I am at the beginning of the stage, where paralleling is happening during some points naturally as my speed increases, and my control increases. This past week was the first time that I didn’t have to quit for the day because my legs hurt! I could’ve kept going because I was relying less on my snowplow stance and letting the turns happen with that back and forth groove you see in the Youtube videos![/fusion_text][fusion_separator style_type=”double|dotted” top_margin=”” bottom_margin=”” sep_color=”#1e73be” border_size=”” icon=”fa-asterisk” icon_circle=”yes” icon_circle_color=”#81d742″ width=”” alignment=”center” class=”” id=””/][/fusion_builder_column][fusion_builder_column type=”1_1″ background_position=”left top” background_color=”” border_size=”” border_color=”” border_style=”solid” spacing=”yes” background_image=”” background_repeat=”no-repeat” padding=”” margin_top=”0px” margin_bottom=”0px” class=”” id=”” animation_type=”” animation_speed=”0.3″ animation_direction=”left” hide_on_mobile=”no” center_content=”no” min_height=”none”][fusion_title size=”1″ content_align=”left” style_type=”none” sep_color=”” margin_top=”” margin_bottom=”” class=”” id=””]Save money where you can![/fusion_title][fusion_text]Skiing is expensive! This is one of the main reasons I don’t go frequently, but I do look for deals and discounts wherever I can.
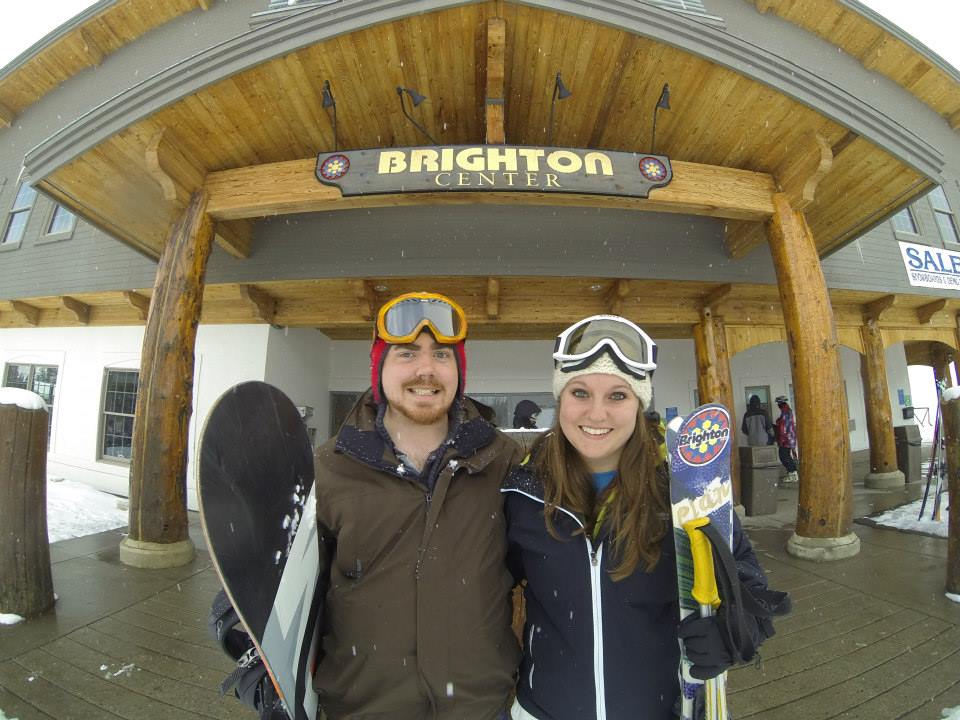
My suggestion is to look for a resort that is beginner and wallet friendly. Not all resorts are created equally! I like skiing at Brighton Ski Resort here in Salt Lake City. They have a “Learner Pass” that is about half as much as a regular adult day pass. It allows you onto the bunny hill and the first lift after that which has green and blue runs.
Don’t be afraid to rent and/or borrow gear! My first time, I borrowed ski pants, bought gloves and a mask, and rented ski boots, poles, and skis. I use the same gloves and mask every time since then (they don’t usually rent this gear because of personal hygiene reasons). If you borrow skis from a friend, just make sure they are adjusted for you and the right length for your height and skill level.[/fusion_text][/fusion_builder_column][/fusion_builder_row][/fusion_builder_container]