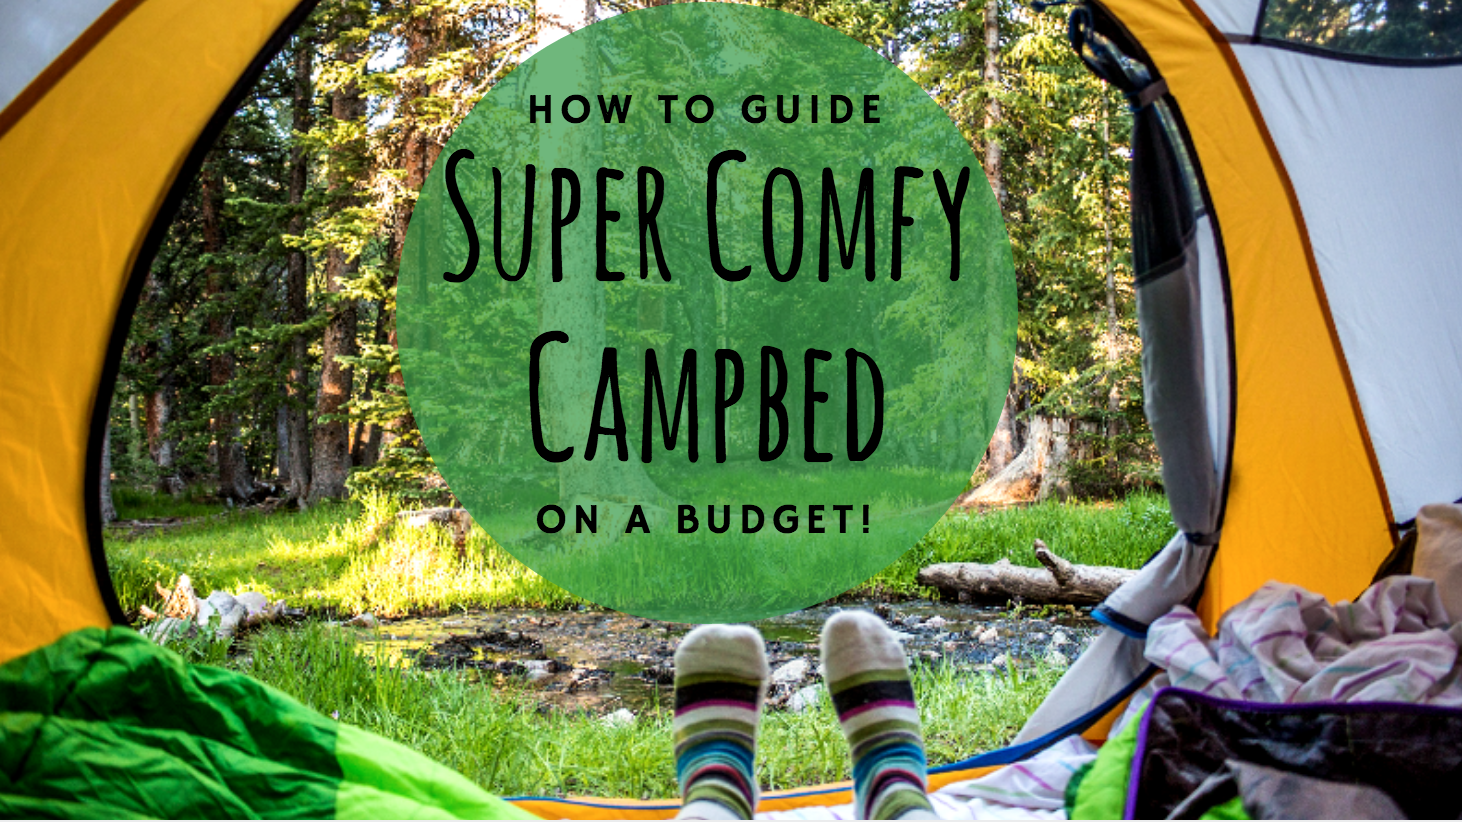
Camping is awesome. You get to sleep under the stars, wake up with the sun for some awesome sunrises, eat too many s’mores, and spend the night in nature.
It’s great…until you realize your tent is situated over seemingly giant sticks or rocks that you didn’t notice earlier in the day when you were setting up your tent. Oops…
Or the ground is so cold/wet that you are extremely uncomfortable, and you don’t have enough padding to protect you from the cold/wet ground.
Okay, so camping is awesome, but there are some downsides. I am one of those people that if I don’t get my 7-8 hours (or even 6) a night, I can be a very grumpy camper.
While backpacking is about minimalism, car camping is another story. I’ve learned that if I have the space in the car to bring comforts from home, it makes me a much, much happier camper. When I get sleep, I have the energy to really enjoy the hiking the next day. After not getting any sleep at all on previous camp trips, I am shameless in saying that this is my solution. Oh, and did I mention I’m an extremely light sleeper (even at home). :/
After experimenting with this idea, I’ve created a super comfy camp bed in my tent, and I’m excited to share it with other grumpy-sleepless campers!
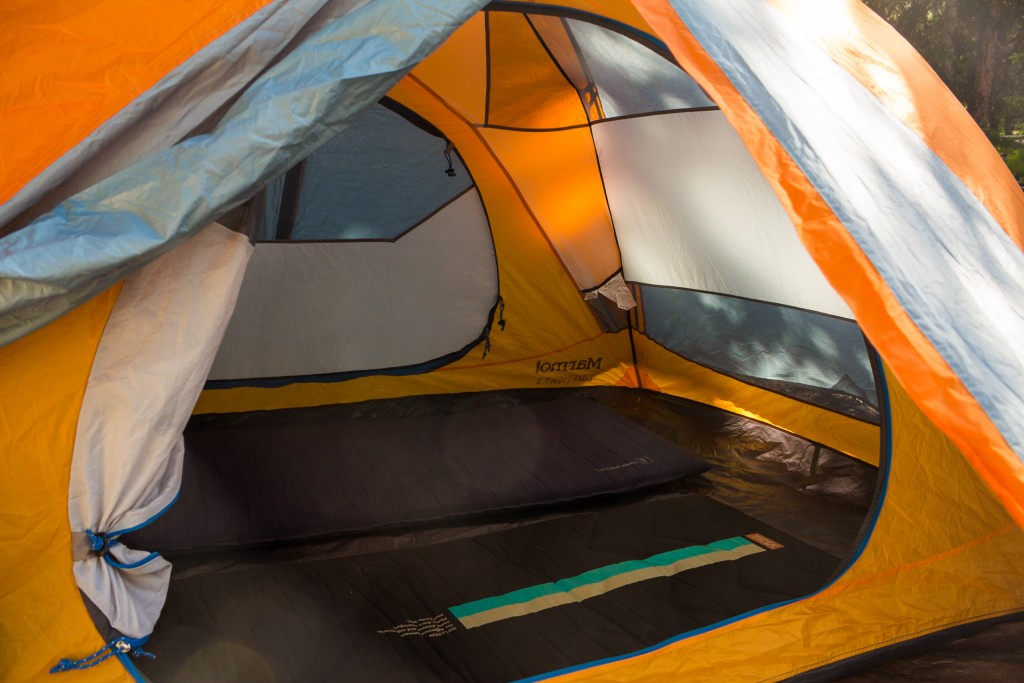
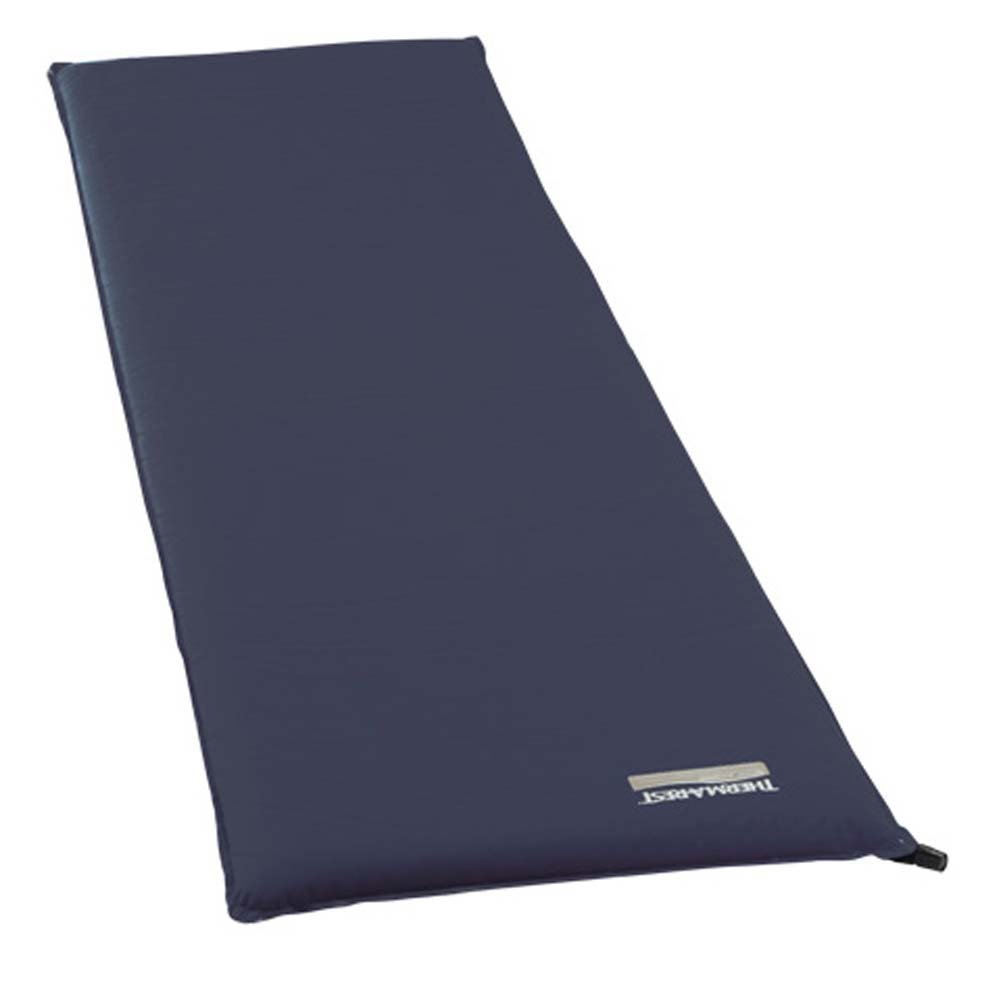
1.) Camp Sleeping Pads
[/fusion_title][fusion_text]
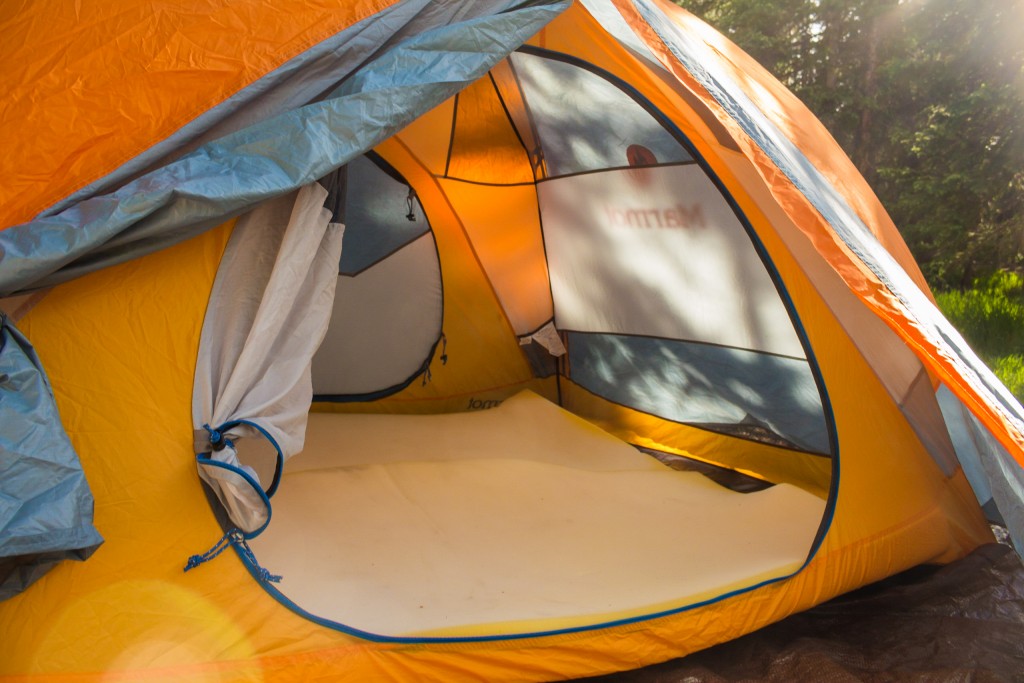
These are the Therm-a-Rest-type or self-inflating pads that you can get at REI or almost any sporting goods store. We bought some at a huge REI Memorial Sale a couple years ago for the use of car camping with the possibility of backpacking. Let’s just say that they are minimal. To make your bed fit for a king or queen, you’ll need to use these as your protection from the cold/hard/wet ground.
Place the two inflated pads together on the floor of your tent.
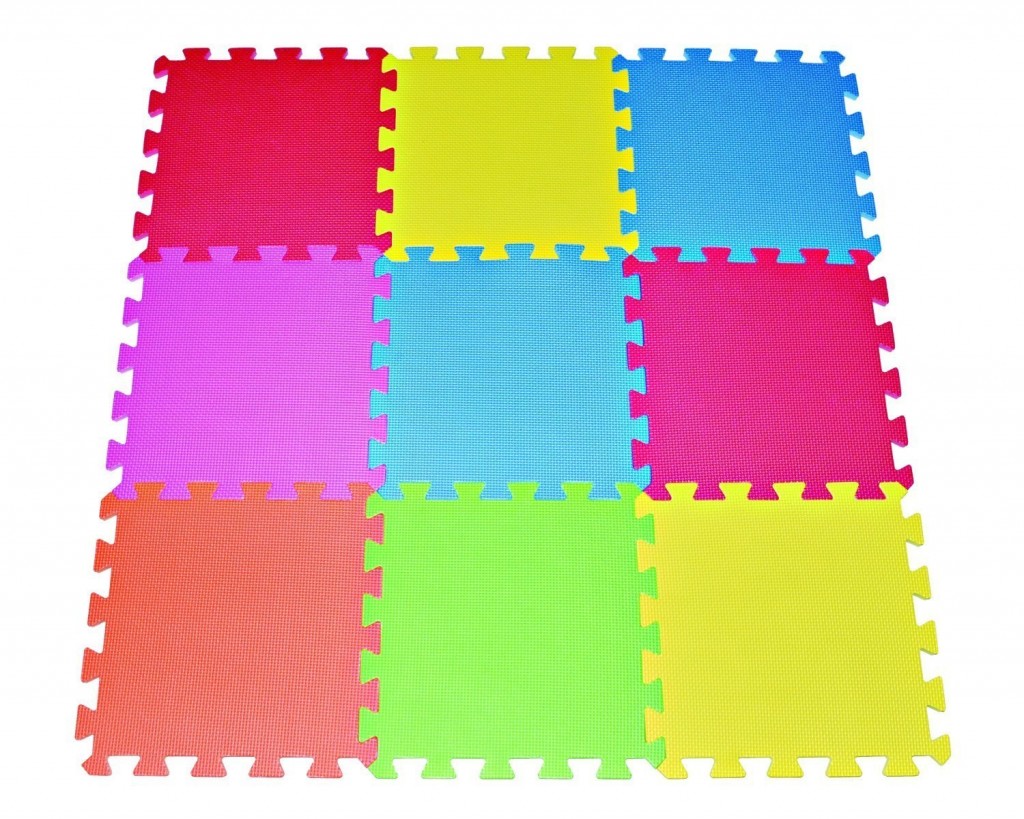
Alternative: You can also use the foam blocks used in elementary school classrooms. (You know, the colored ones that connect!)
2.) 3” Foam Pads (2 Twin Size)
We bought 2 twin size 3” foam pads for about $20 a piece (maybe less?) at Smith’s Marketplace. You could probably find something similar at Walmart or a department store. They’re not pretty or fancy, but they do exactly what they’re supposed to. I’ve seen people use all sorts of foam bases. We ended up with two twin size to make transport easier. For transport, we just bungee cord them, rolled up as compact as we can get them.

Note: The photo shows 1″ foam thickness.
Extend the foam pads and place the exposed, outer side down on the ground (on top of the sleeping pads). That way, every time you use them you use the same side. I noticed that over time our pads turned a yellow color on the outer/exposed side. I just flip that over and the inner part is as good as new!
3.) Fitted Sheet (Full Size)
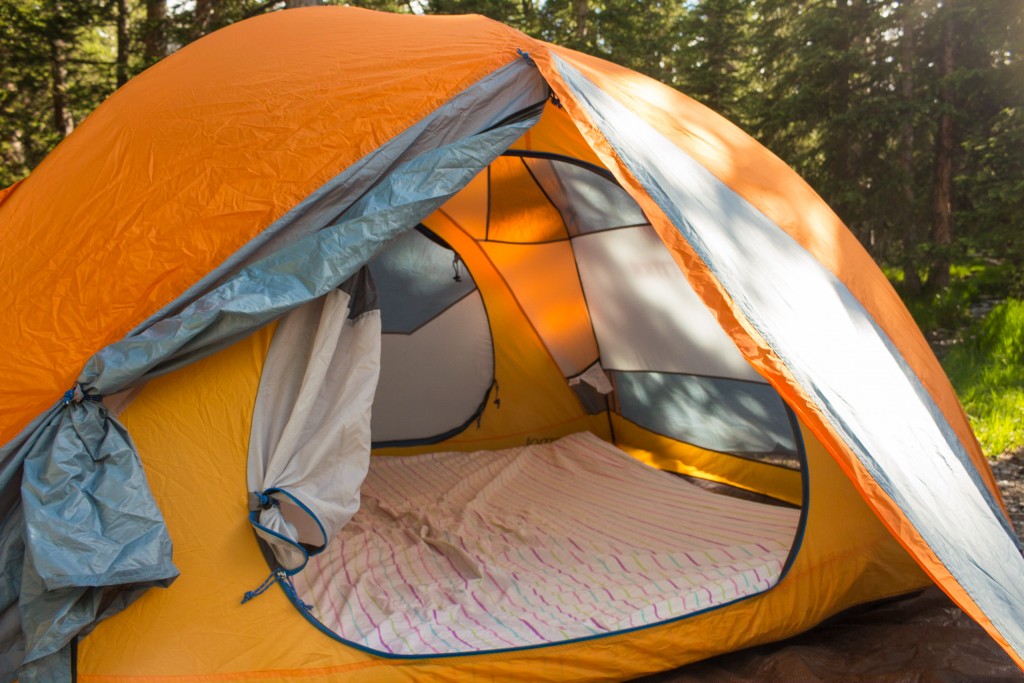
The sheet is really the final touch, in my opinion! I used an old full-size fitted sheet from my college days and wrapped its edges around both the pads and foam together as one large piece.
This does two things:
- Keeps the foam bed together, so no one is falling in the middle of the two pads during the night.
- Creates a more comfortable surface to sleep on. The foam is not very breathable because it gets a little hot/sticky-feeling. I didn’t like that texture for sleeping on, so this solves that issue!
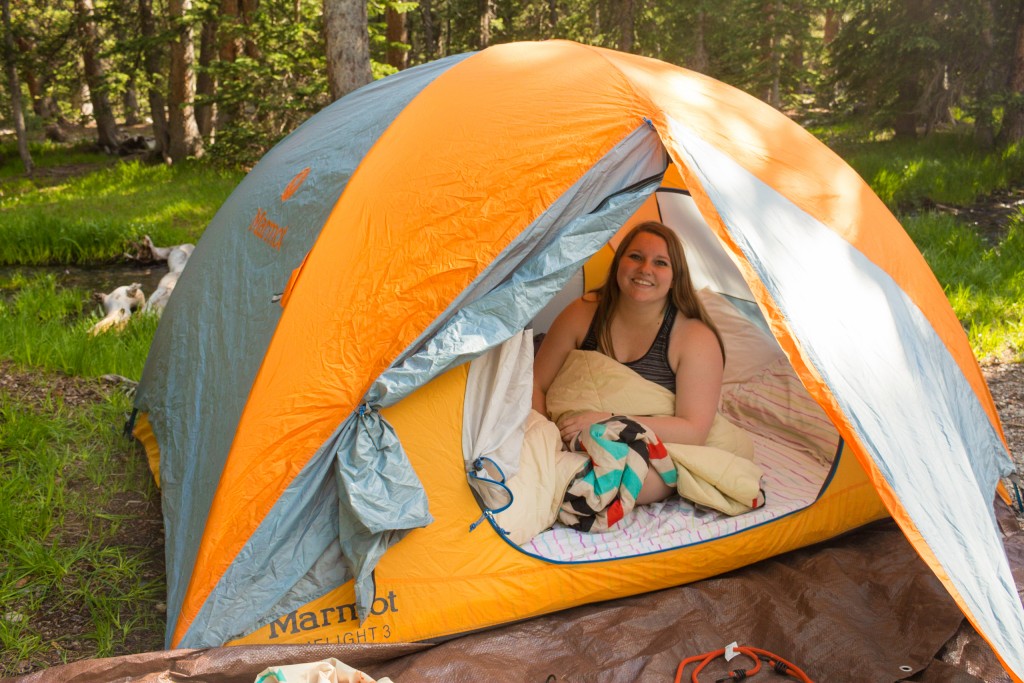
4.) Sleeping bags, blankets, pillows

We bring our sleeping bags because it can get chilly at night, and the insulated compact side helps seal in the warmth a little better than a standard blanket. Then, depending on how “glampy” you want to go, you can bring extra blankets, pillows, etc. to make yourself comfortable.
We had absolutely no shame on our last trip, and practically brought our bed. (Okay, so not quite, but we were not shy with the amount of pillows we brought.)
5.) Bonus Tip: Use something you already have on your trip as a way to prop up your pillows.
Now, I will let you on my final tip that makes a huge difference…
Use something such as a clothing bag to place on the floor or the camp bed (depending on the length of your tent, bed size, and your height) to prop up your pillows. At home, I use two pillows and a small blanket rolled up to support my neck. I’m so much more comfortable when my head is raised a little higher than the rest of my body. This is my personal preference, but Brighton tried this last trip and he was also more comfortable this way. (He used his hammock for camping that we ended up not using due to lack of correct trees- Ha!)
Well, there you have it! My “princess and the pea” comfy camp bed! Now get out there— the days are getting shorter, and the wildflowers are putting on a show for a limited time!