On our final day of our long weekend getaway, Kelli and I headed to Sedona, Arizona. Sedona is known for its stunning landscape of steep canyon walls, red rock buttes and green pine forests among a vibrant art community and desert resort town. Brighton and I stopped through here on our way back from San Diego and we wanted to return for more exploration. Since we were only about an hour from it, Kelli and I decided to make it our last stop on our journey!
Devil’s Bridge Trail
Distance: 4.4 miles, RT
Elevation Gain: 600 feet
Time: 2-3 hours
Parking: Lot + Street
Restrooms: Yes, at trailhead
The Devil’s Bridge Trail is a very popular hike in Sedona. It’s popular for very good reasons: relatively easy/short, showcases Sedona’s landscapes, close to town, and impressive. I had previously heard about this hike from my brother-in-law and his girlfriend who lived in Arizona and remembered it when we finally had a chance to try this trail out.
While researching, I was a little unsure of what the parking situation looked like for this trail, but once we were there it a was a little clearer. Unless you have a high clearance car like a Jeep or ATV/UTV, I would suggest parking at the parking lot on Dry Creek Road, and hiking up FR 152.
Most people seemed to do this, and while it adds on to the hike, the road is extremely rocky and I was very happy I didn’t bring my CR-V up that road. There were no fees for parking in the lot so far as we could tell, and there was a few different trails that began from the location. We also noticed there was 3 options to reach Devil’s Bridge – short, medium, and long. We chose the short and it was the perfect distance for the few hours that we had to spend in Sedona.
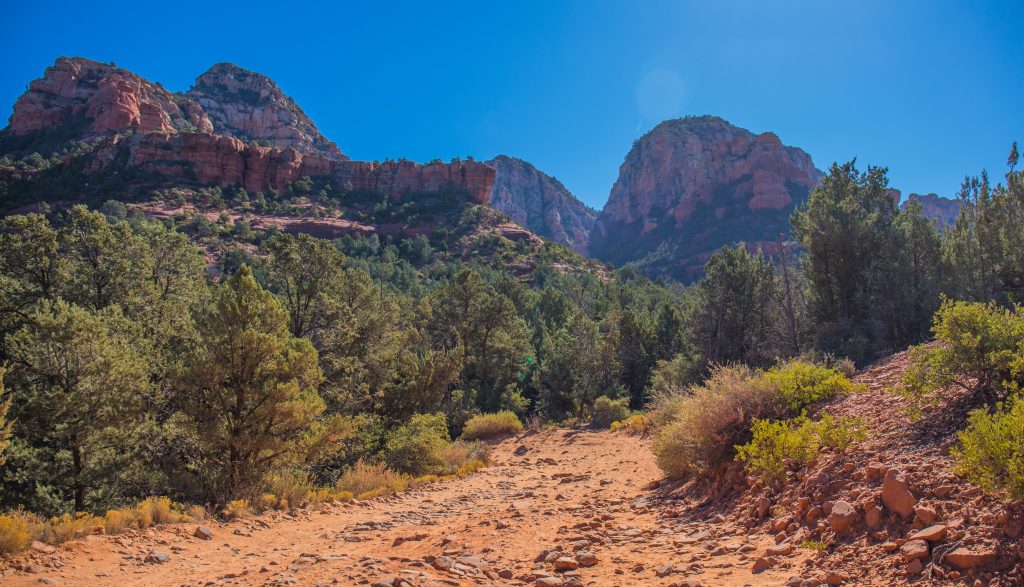
The potion of the trail that follows the Jeep trail I just mentioned is sandy and features valley views of the canyon walls. Be aware that vehicles may be present on this portion of the trail, and share the road. The grade is gradually uphill and manageable.
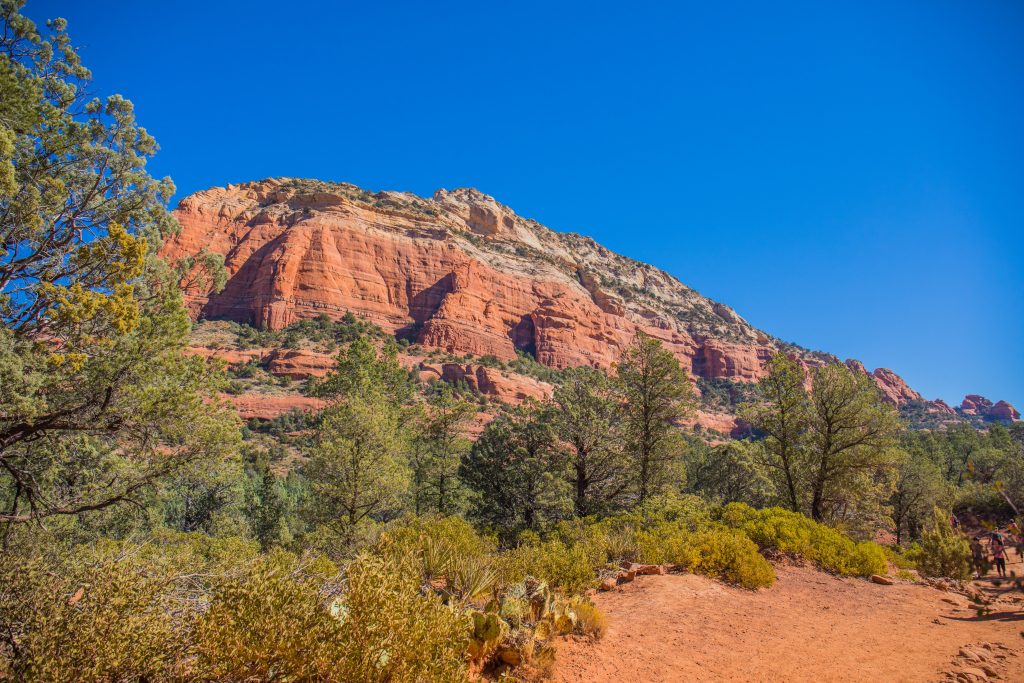
Eventually, you’ll come to the official trailhead on the right. From here, the trail narrows into a foot path and begins to enter a more forested area. There are red rock formations along the way as well.
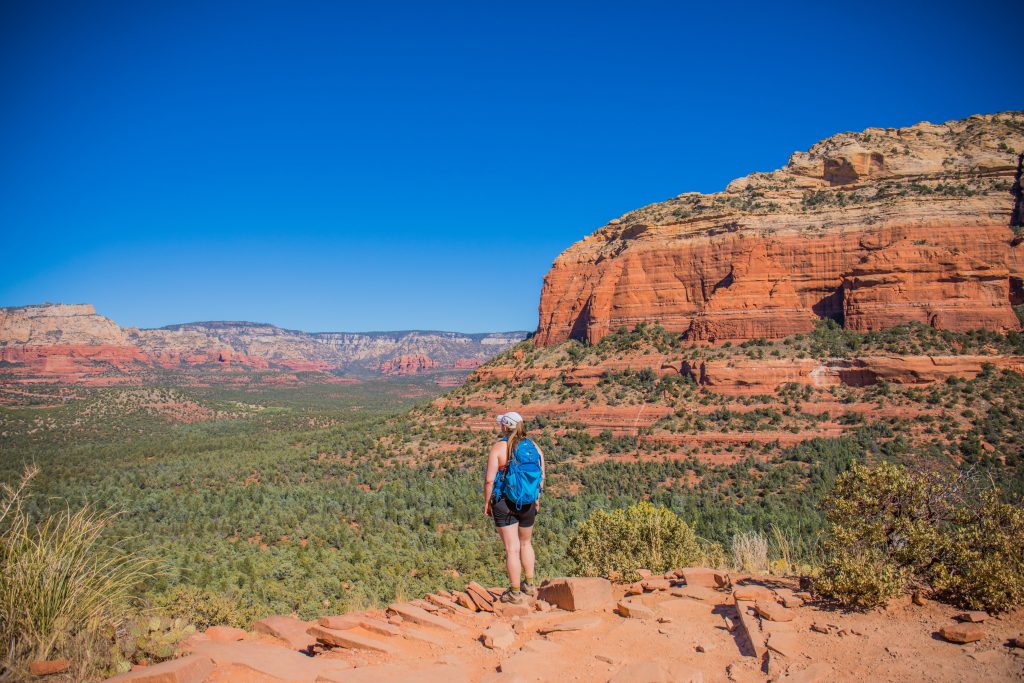
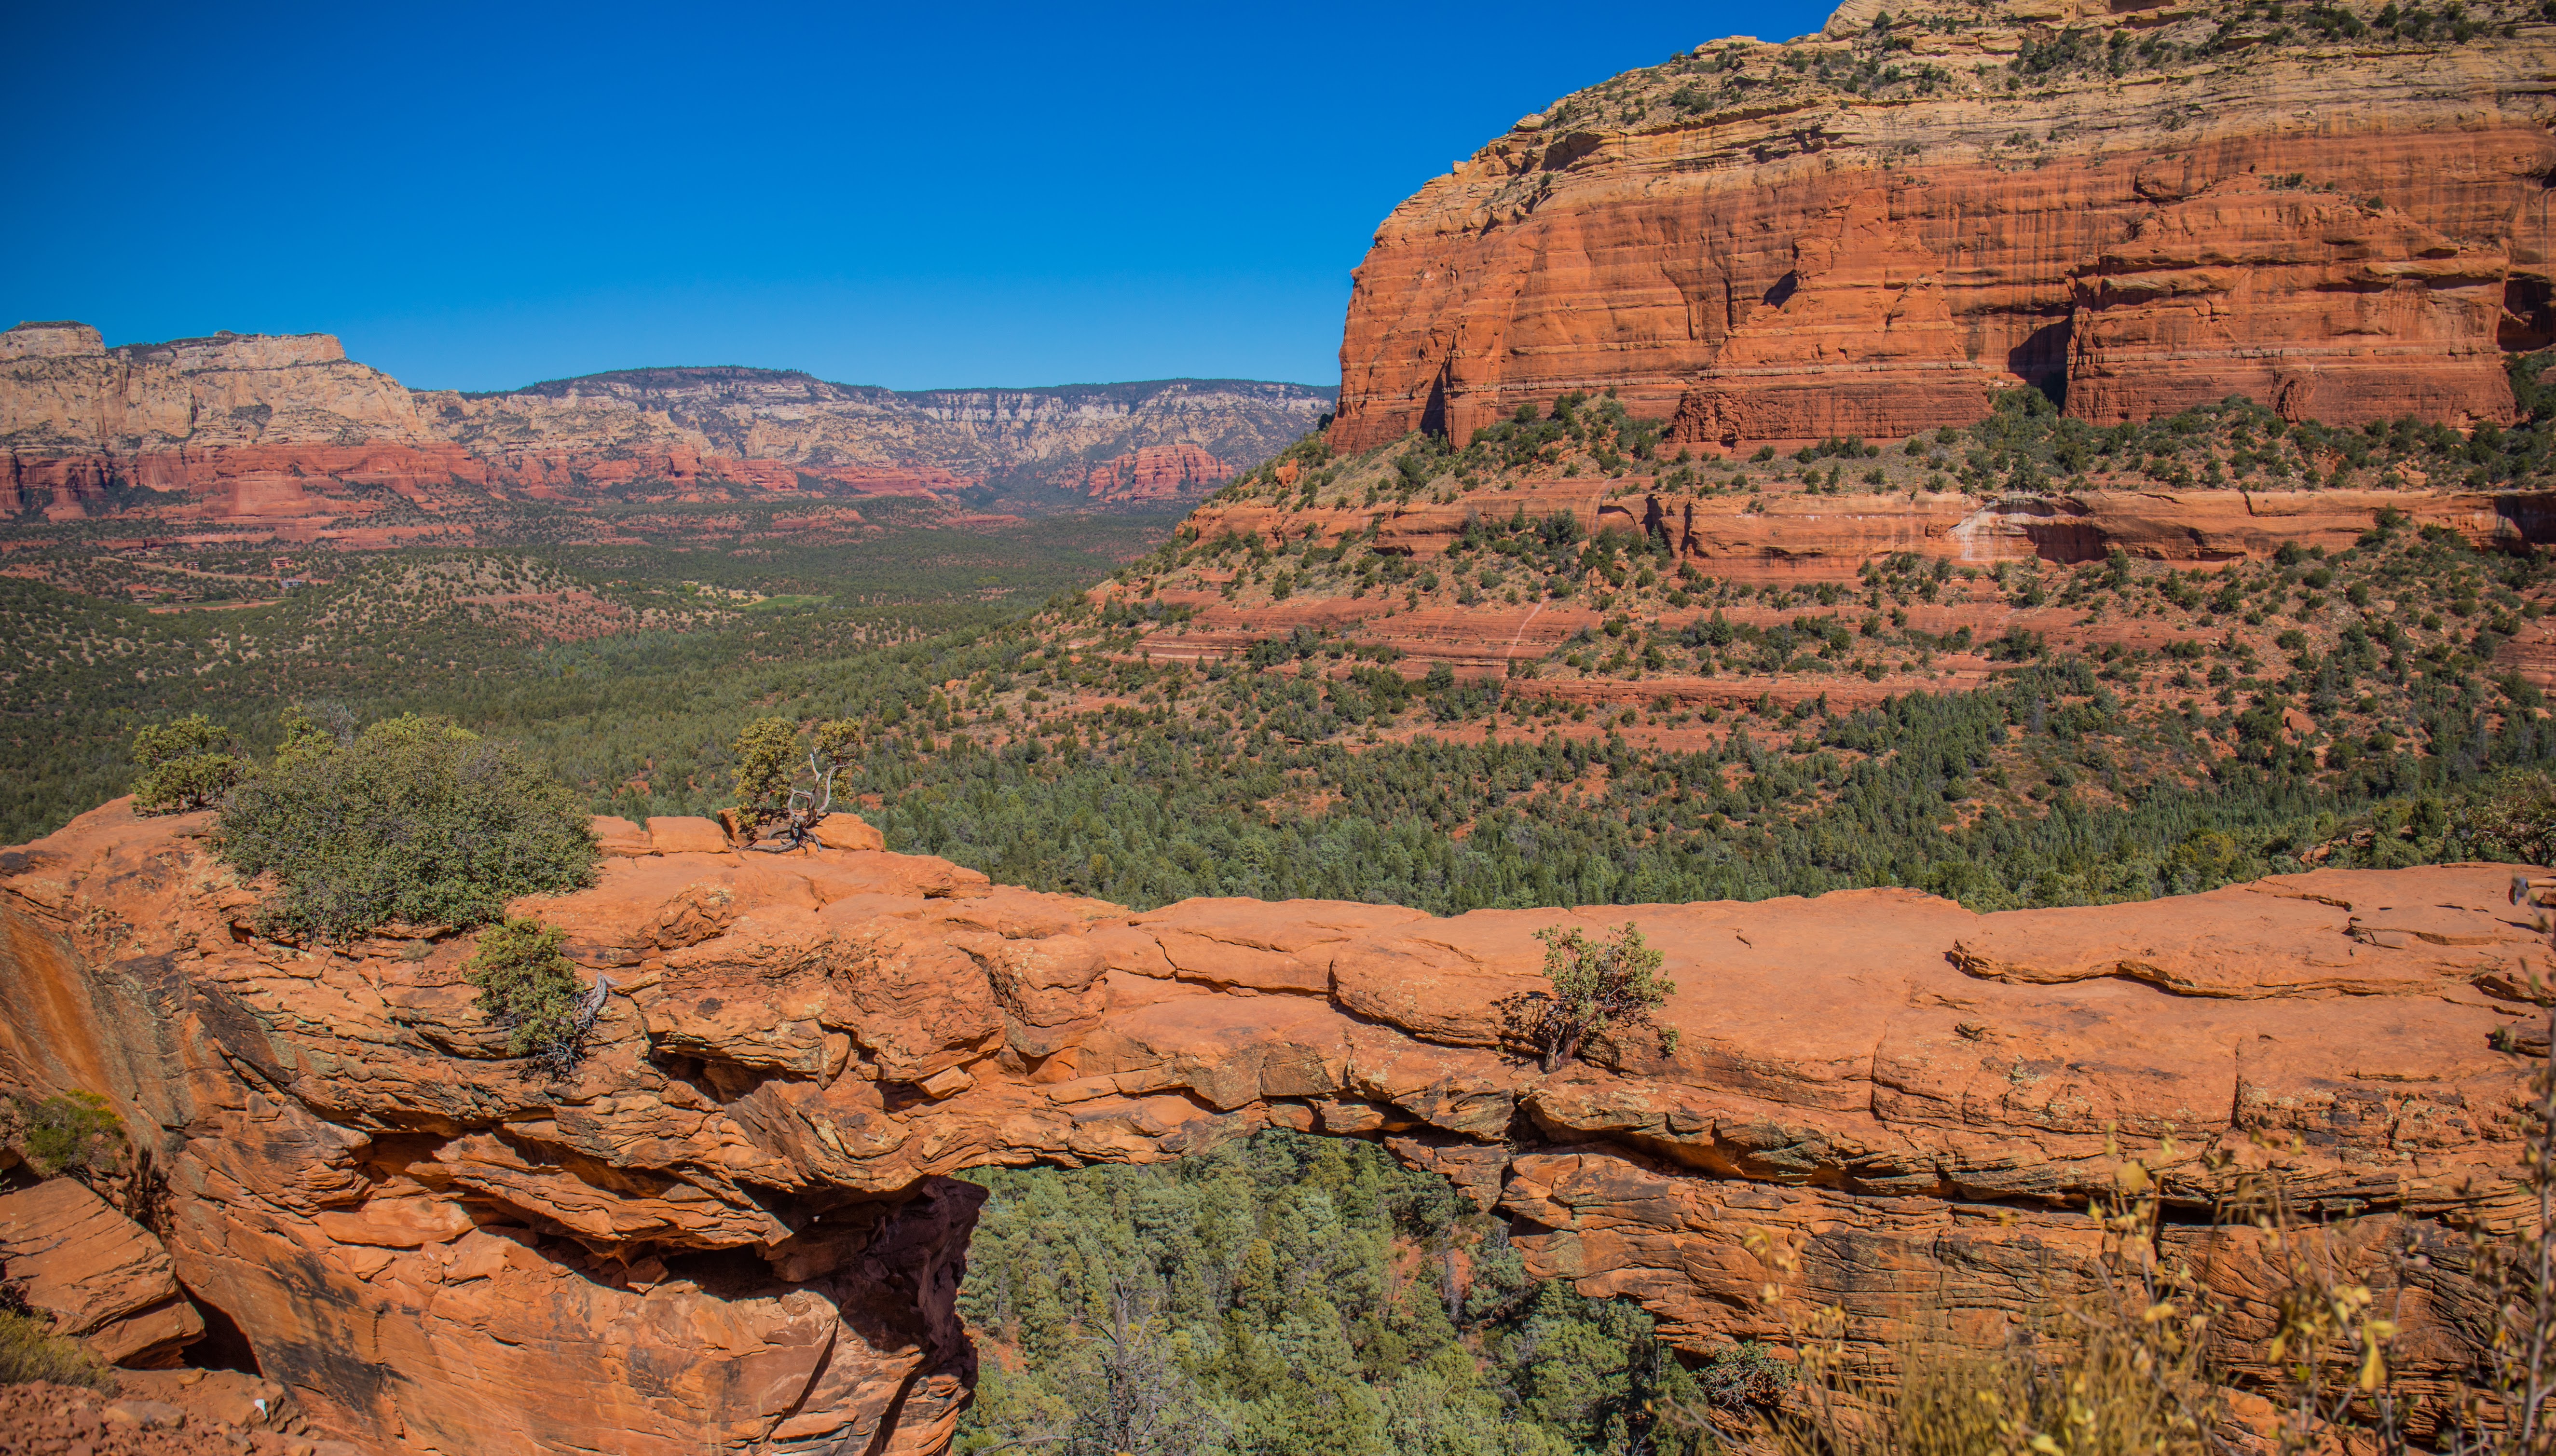
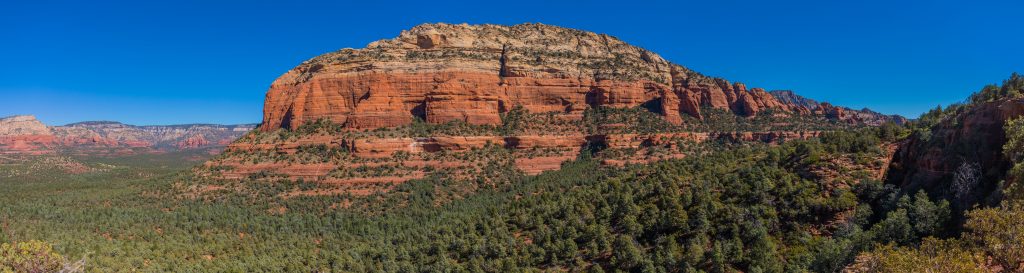
One of the best parts of the hike was when the trail opens up to a view of the Sedona valley. I love seeing the green patches along the red rock walls with the contrast of the blue skies! I am a sucker for vibrant colors and great views. This hike has both!
After the awesome views, you are almost to the bridge. The trail narrows and steepens at the end where you’re climbing red rock stairs and switchbacking along the side of the mountain. Be sure to watch your footing in this area as it can be a little slippery.
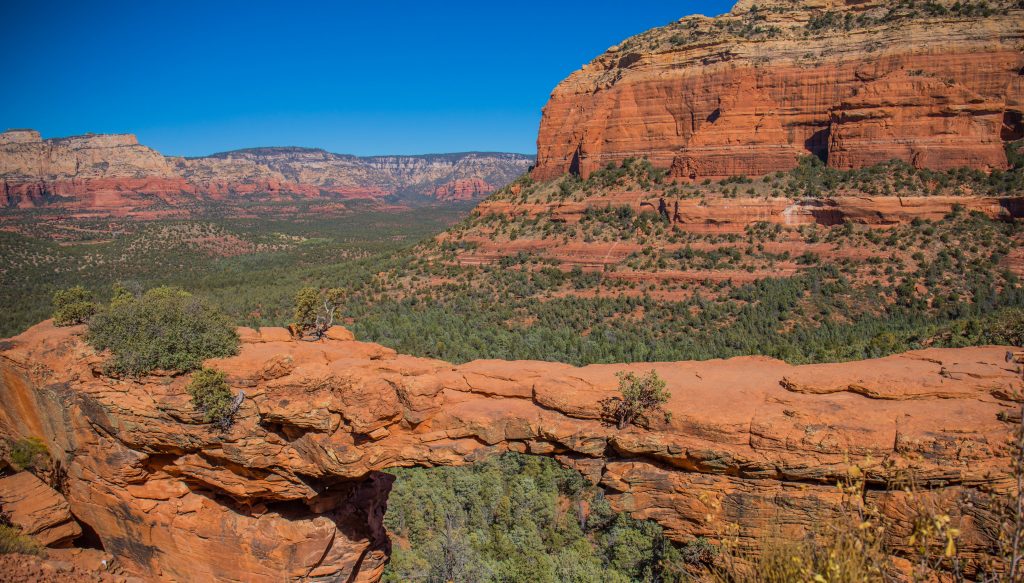
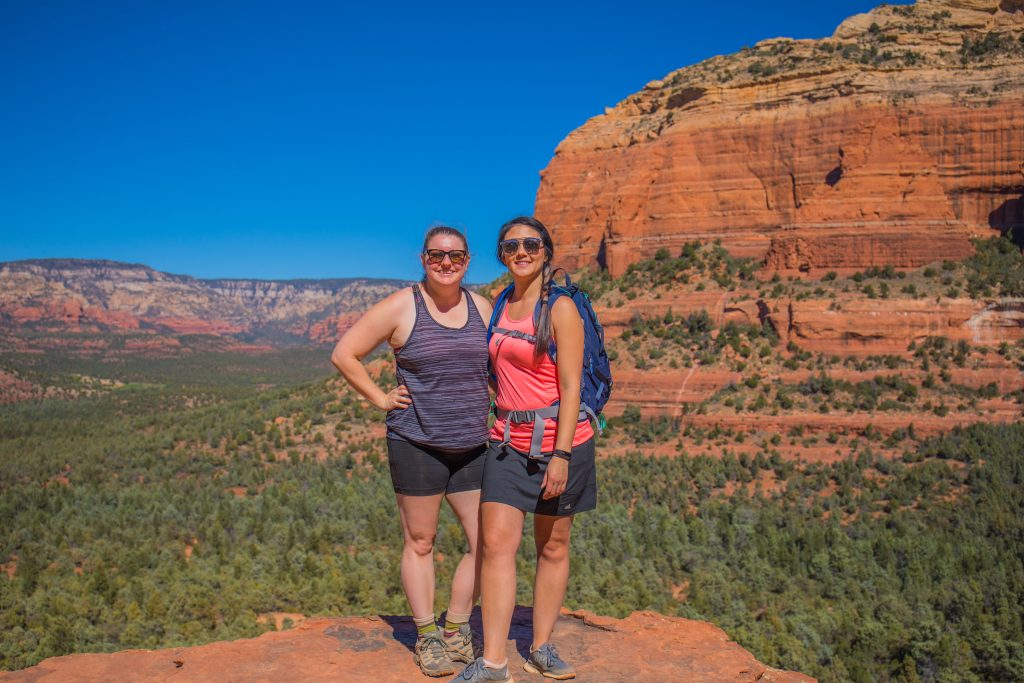
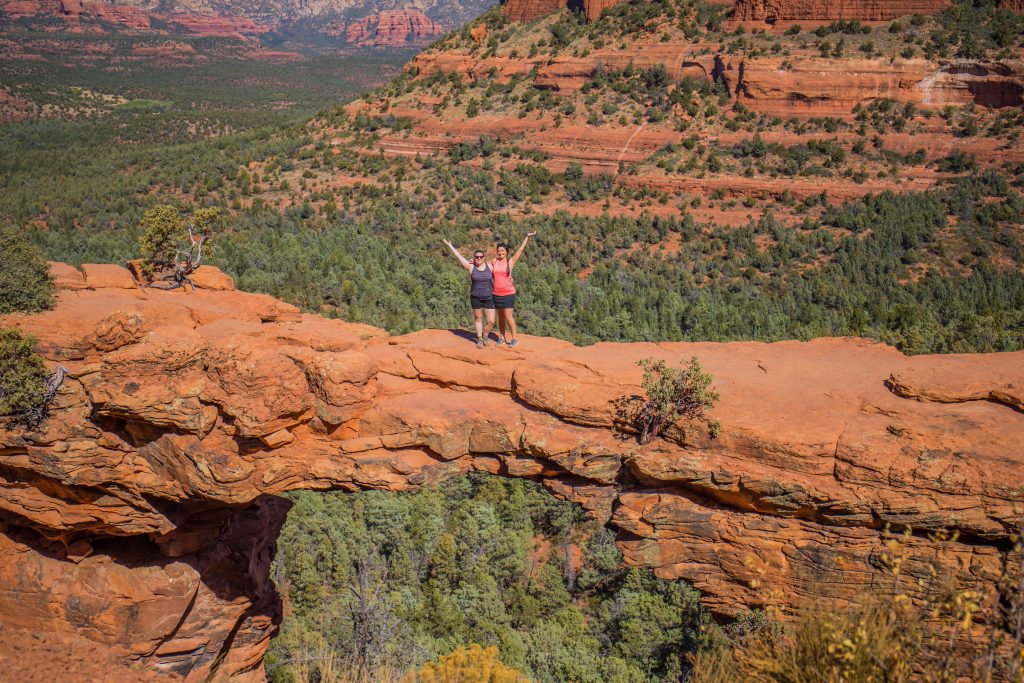
Right after this portion, you’ll see the bridge! There’s a walkway from the trail onto the bridge. Many people were sitting along the rock on the trailhead enjoying snacks and watching everyone take photos of each other.
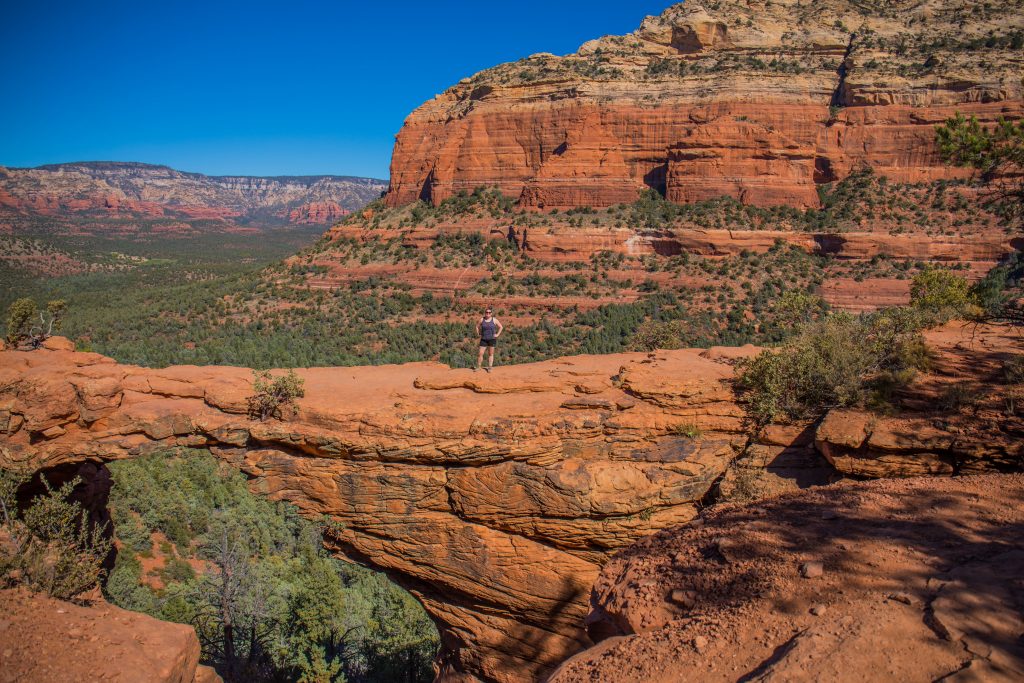
Since it’s such a popular area, there are usually plenty of people to take a photo of you and your friends/family as well as a little bit of a line depending on the time of year/day. We took turns taking photos for others and them taking our photo. After a little bit of rest, we headed back down to the car.
The temperatures in mid-October were perfect with sunny weather and blue skies. The higher elevation also helped keep the weather cool but warm enough there was no need for layers.
After our hike, we ate at The Hudson where I had a killer Hudson Mushroom Burger and Kelli had the Crispy Chicken Sandwich. When we finished lunch, we began the long drive back to Salt Lake.
It was a fantastic trip full of adventure and classic red rock experiences!
In case you missed it, check our our first two days:
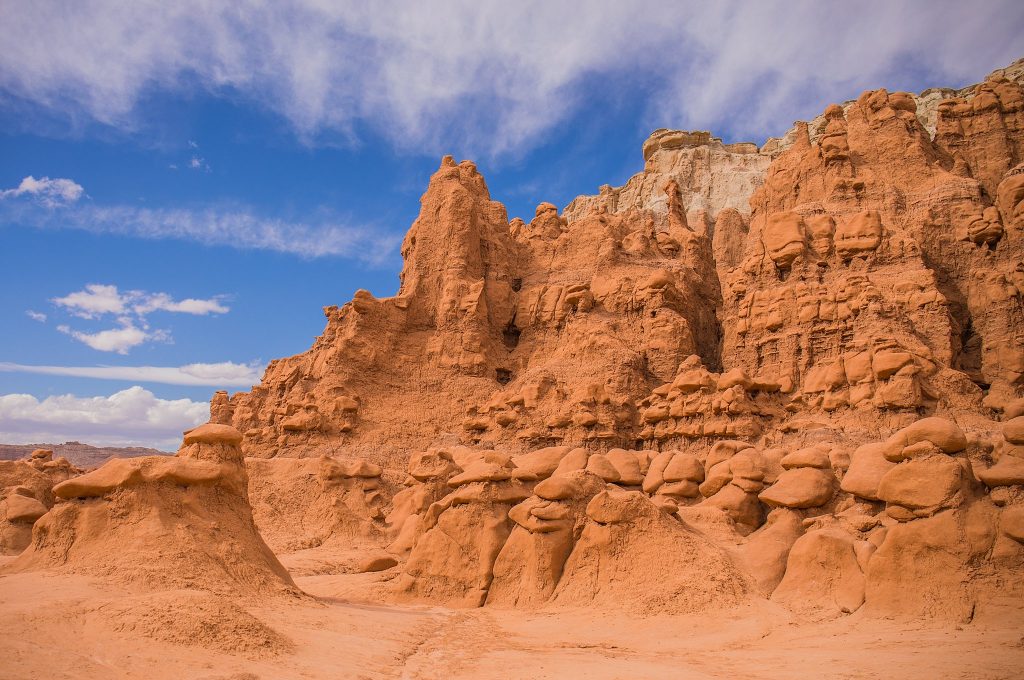
Day 1: Goblin Valley State Park & Natural Bridges National Monument
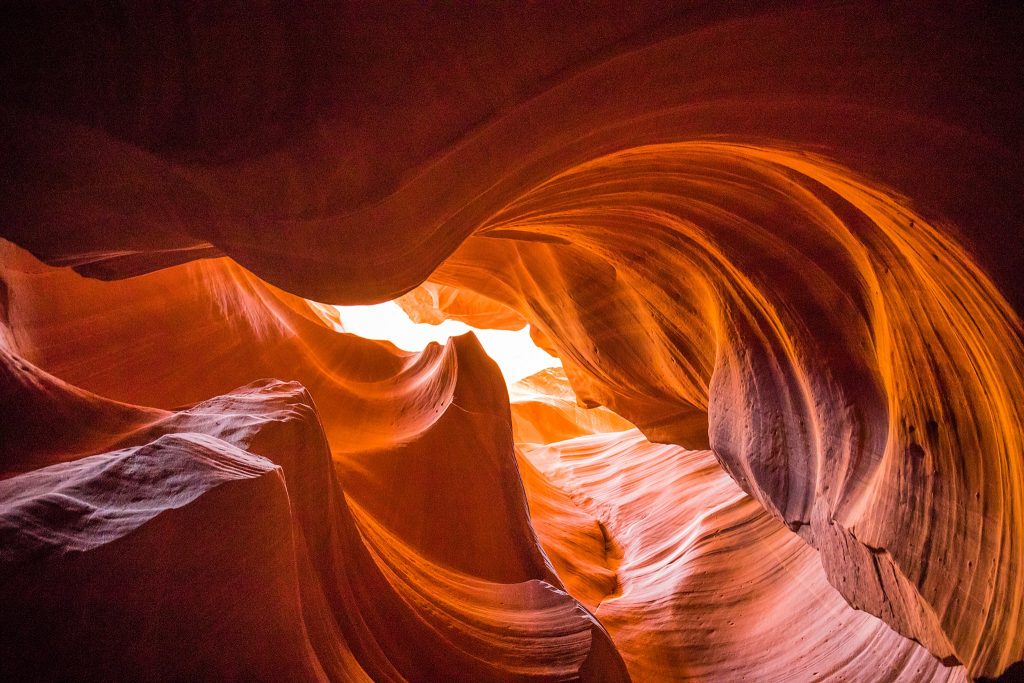
Day 2: Antelope Canyon, Horseshoe Bend & Grand Canyon
-Hilary